
Starting with something as simple as flour, fat and water- we love keeping our pies basic and classic. Using grandma’s recipe feels good, and that’s mostly because it tastes good! But there are some great tools to add to your pie making cabinet to make the process just a little more fun (and easy!)
How do you blend in the fat? Pastry Cutter vs Food Processor vs Your Hands
The point of cutting the fat is to create smaller bits of air that will melt and create steam in the oven. The size and distribution of the fat is a big part of the dough making process. There is much debate about cutting fat into pie crust using a pastry blender, food processor, or even your hands.
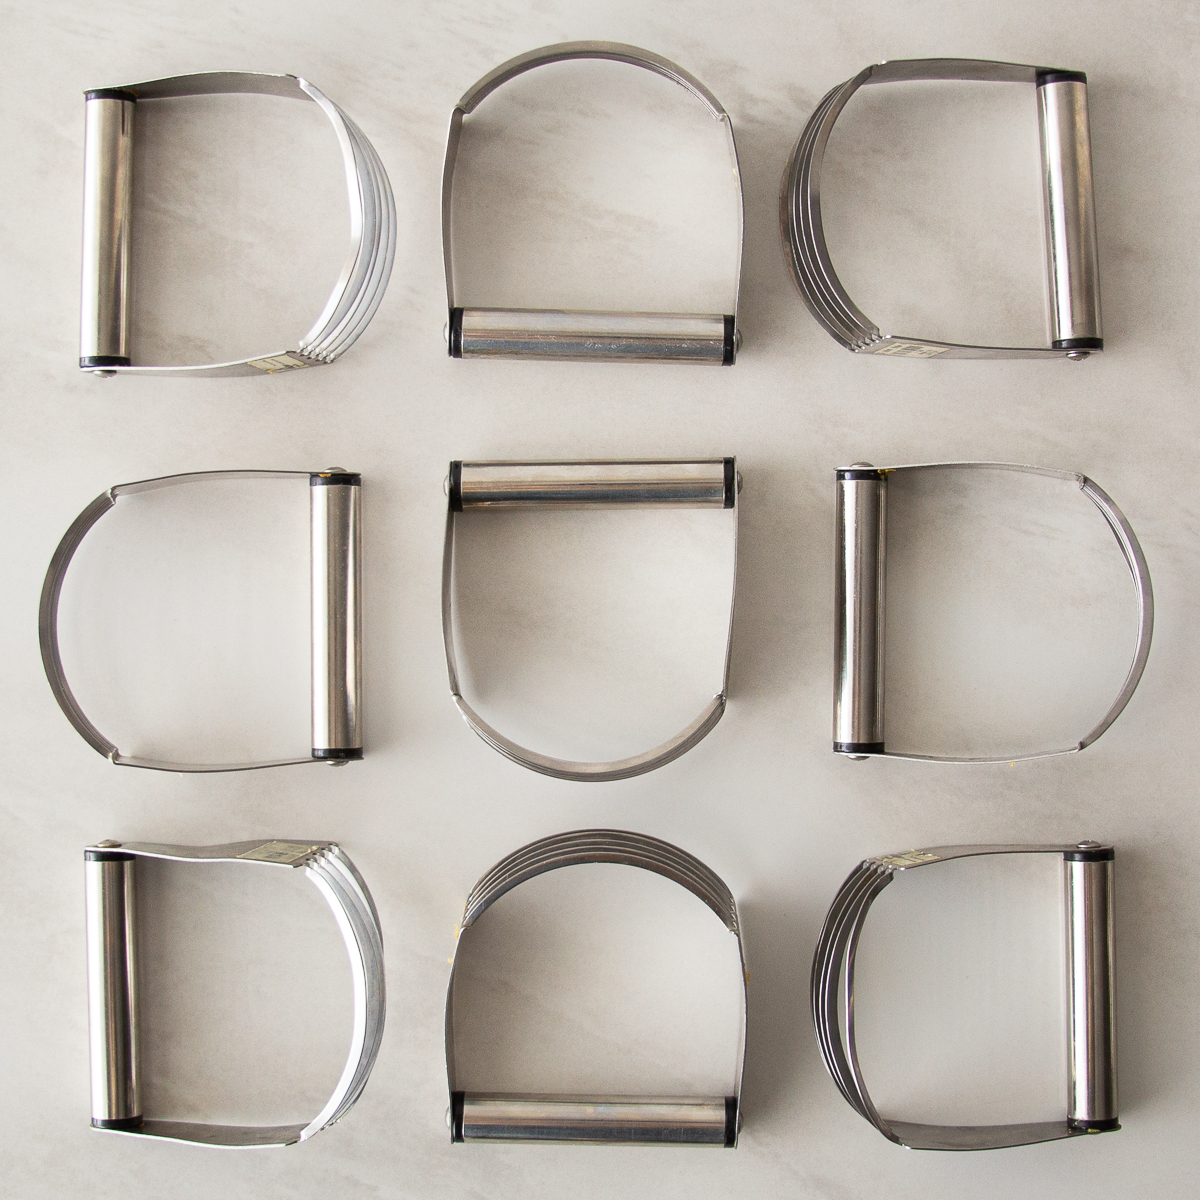
Pastry Blender
The key to perfect pie is the temperature of your ingredients. A pastry blender can help you maintain a cooler temperature as it allows for less contact between you and the dough. The pastry cutter has blades that cut through cold butter or shortening to create any sized pieces you are looking for. Using a pastry blender allows you to cut the dough perfectly, without overworking it.
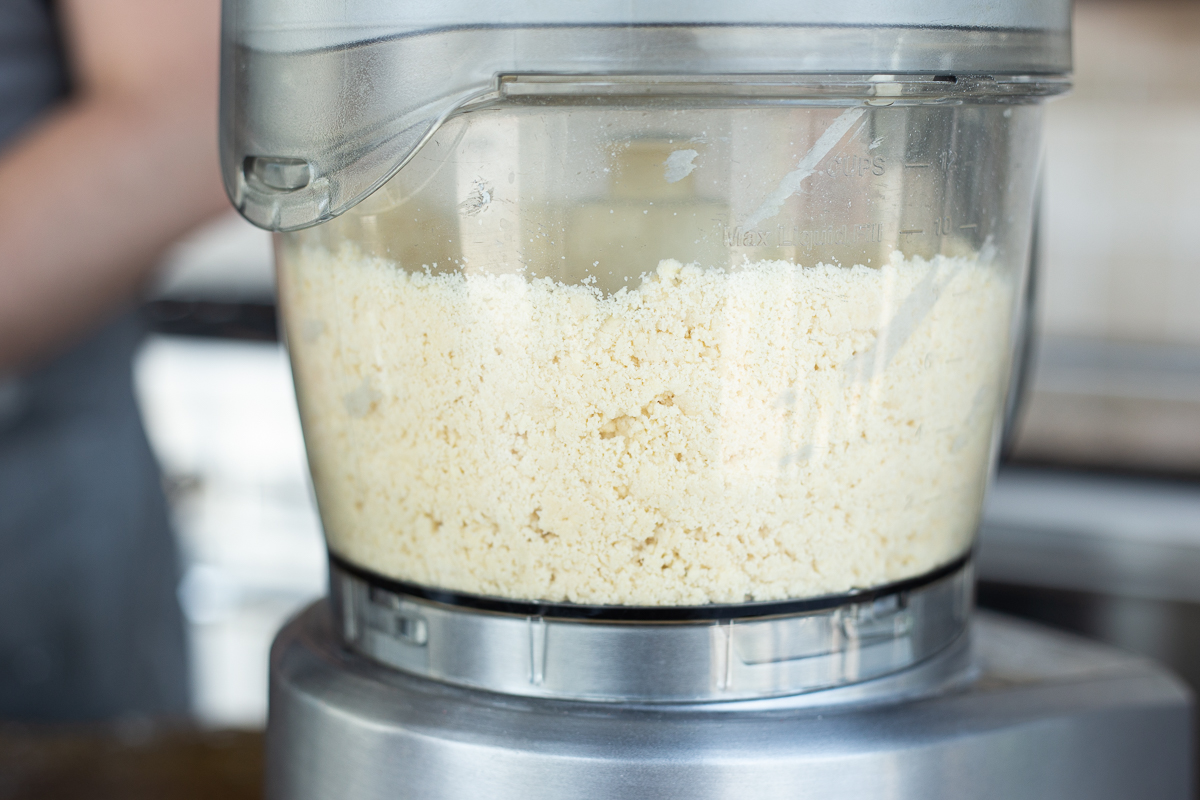
Food Processor
For a hands-off version, the food processor can get the job done quickly. While it may be faster, the goal is to leave some of the pieces of fat coated in flour to achieve that flaky texture. Using the food processor can over blend your fat, leaving your crust more tough. If you tend to over pulse your dough, use the Paste Crust version.
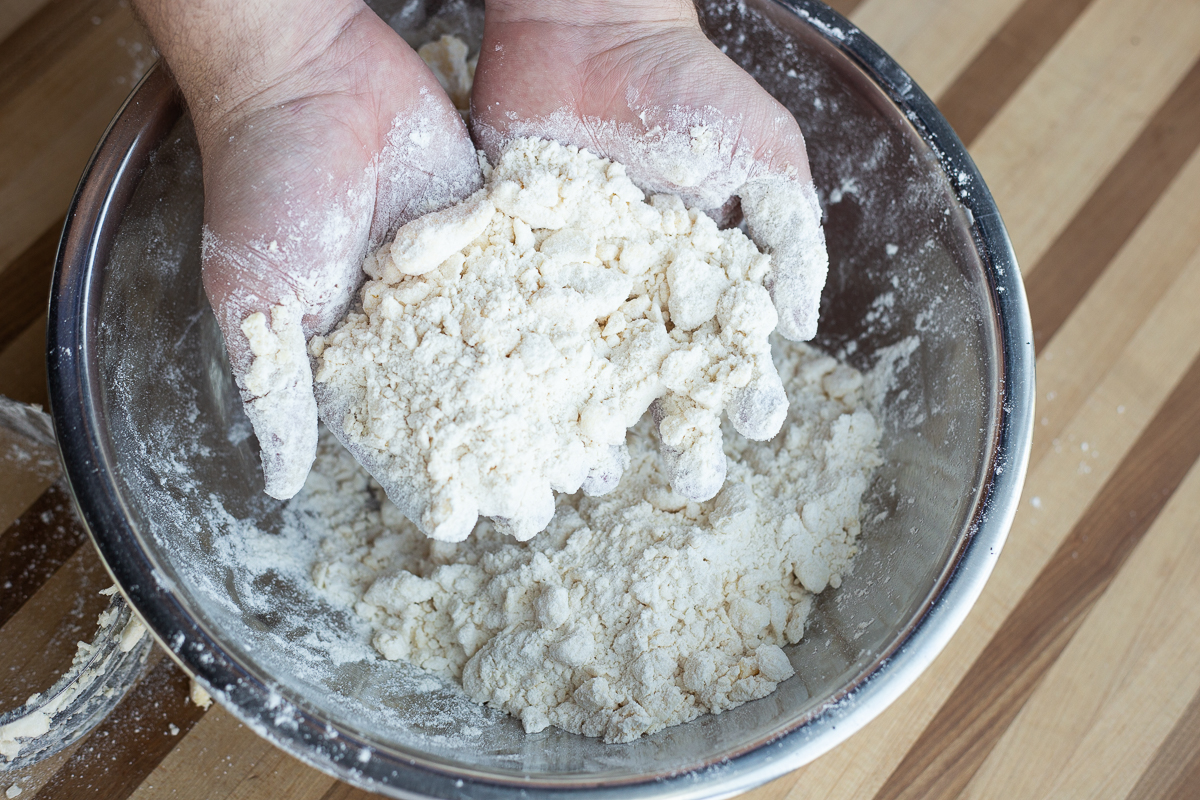
Hands
This method takes us back to grandma’s kitchen. There are some bakers who swear by blending in the fat using your hands. This gives you a lot of control, as you gently use your fingers to break up the pieces of fat to the perfect size by pinching them between your fingers, and carefully coating the fat in flour. A little messy, but definitely full of love.

Bench Scraper
Having a bench scraper around helps with almost any messy kitchen task, but we especially love using one with our pie making. Found in both metal and plastic, you can carefully scrape up any stuck pieces of dough, gather all the leftover flour in a pile, and scoop into the garbage, and even use it to help transfer the dough to the pie plate. This handy tool is a kitchen hero!
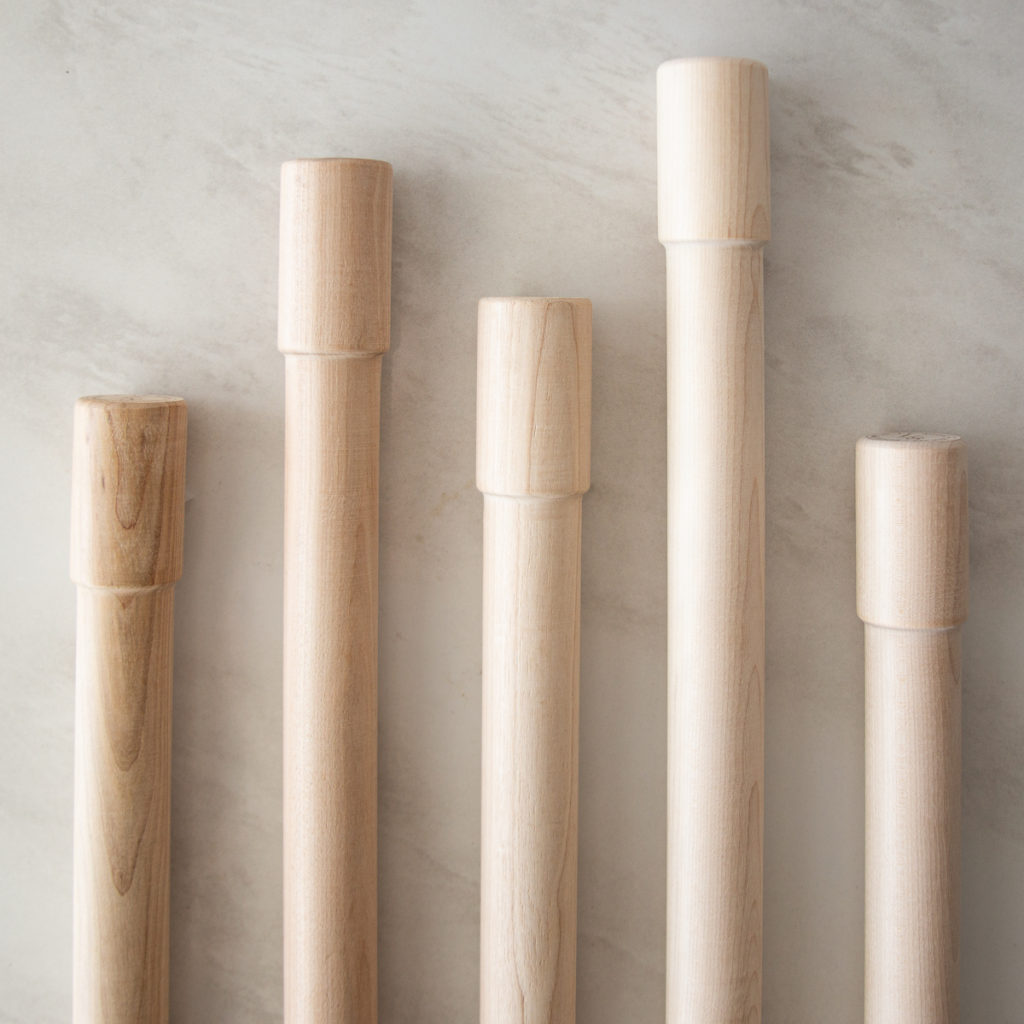
Rolling Pins
Rolling pins come in many different shapes and sizes. Our go-to is the tapered french rolling pin. This pin doesn’t have the traditional ball-bearings, so controlling the amount of pressure you are putting on the dough is a lot easier. The important part of rolling out your crust is the thickness.
The Lovely Pin from JK Adams takes all of the guesswork out of the crust rolling process. The pin has slight indentations on each side, delivering a perfect ⅛” thickness every time! No more thin spots or patching required.
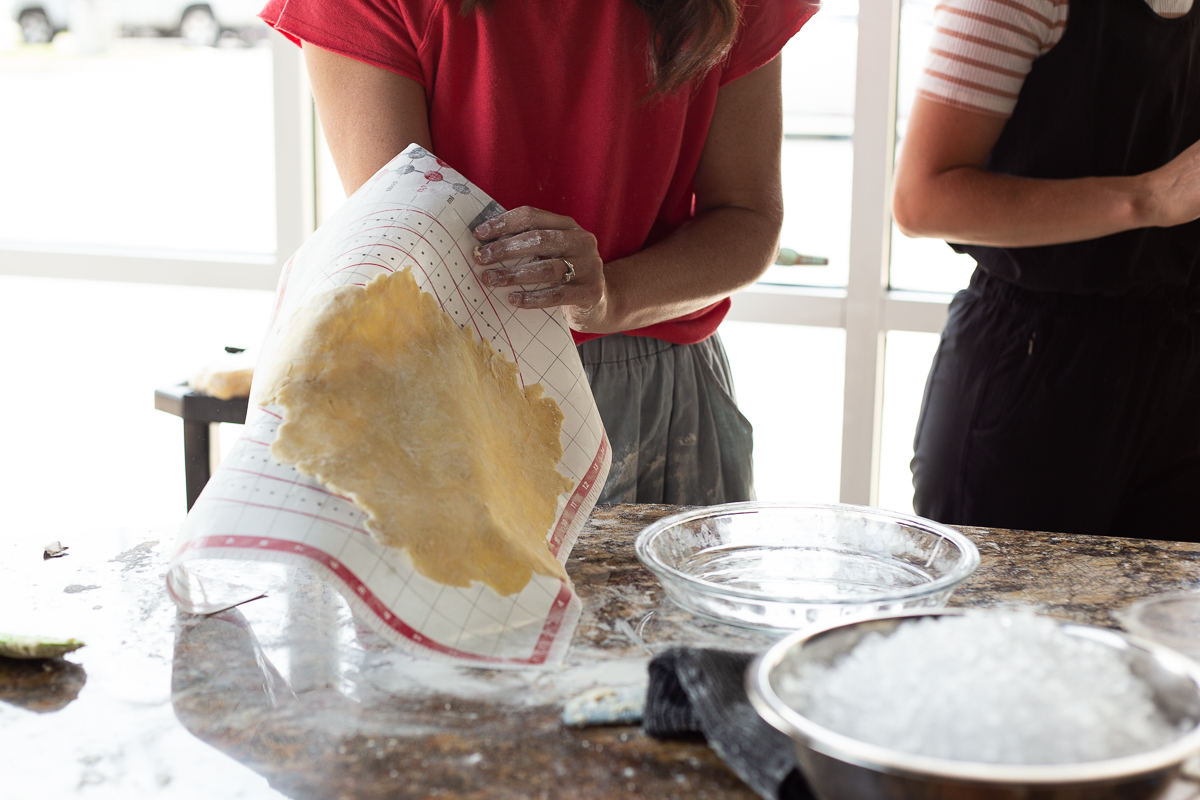
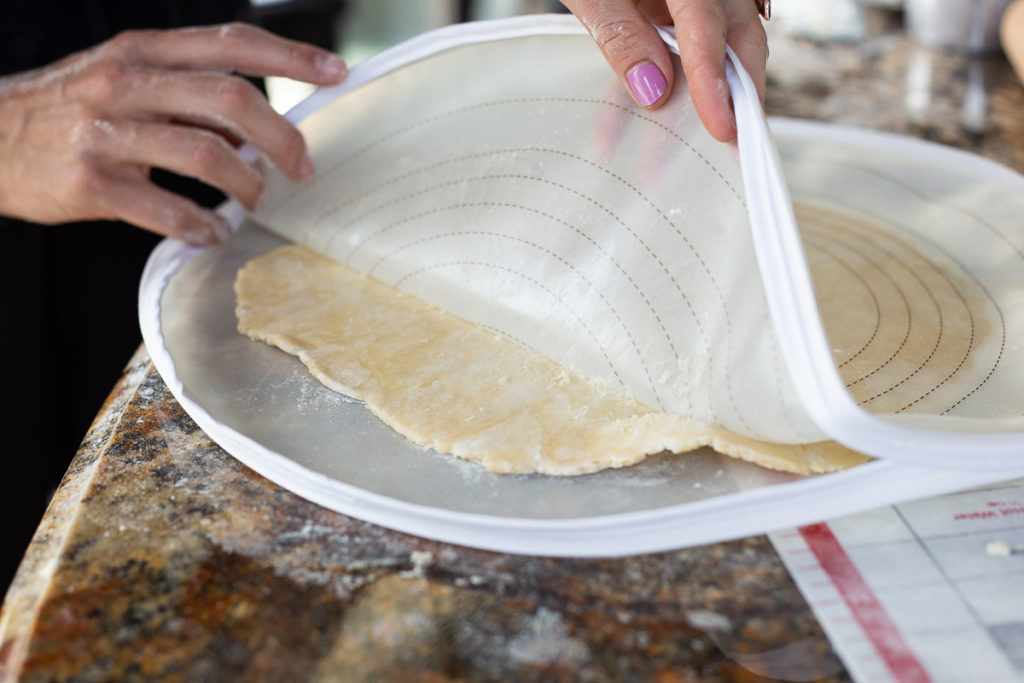
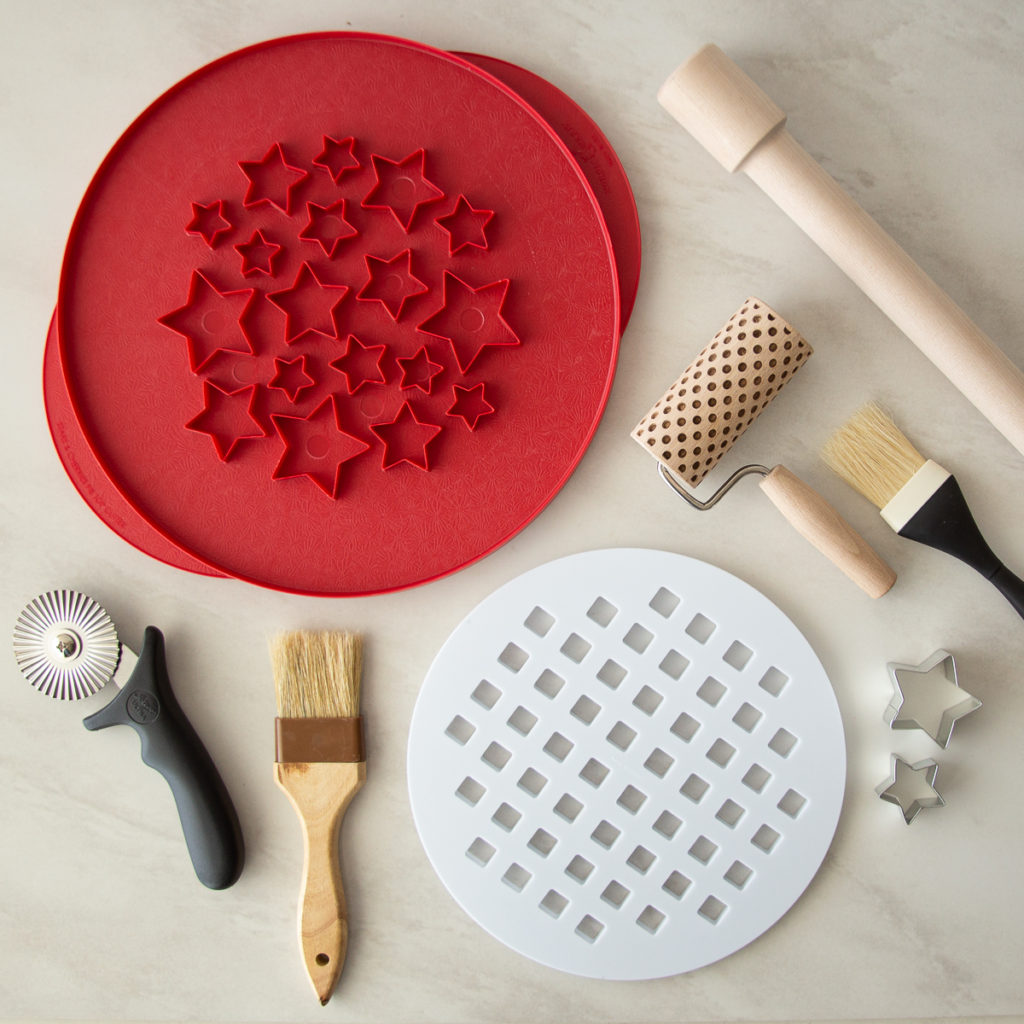
Pie Mat
A silicone pie mat helps you roll out your pie crust to the perfect size with the printed circle guides. You can then lift the crust with the mat to gently lay it over the pie plate.
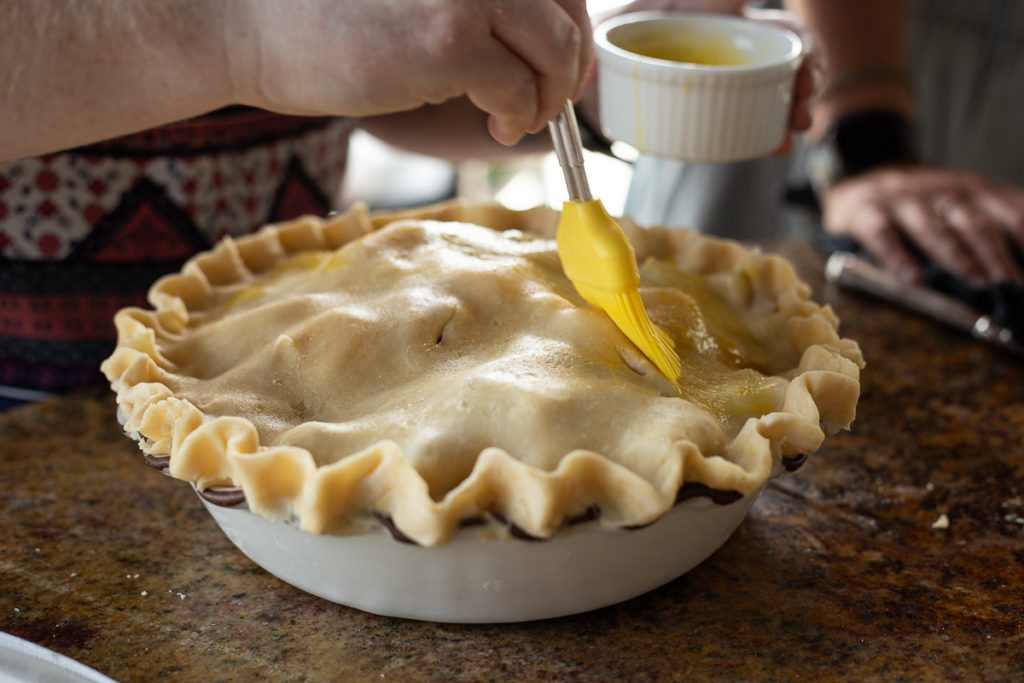
Pastry Brush
LIke a little paint brush for your pie, we love having a pastry brush on hand for achieving a gorgeous, golden brown pie crust. Brush on a little egg wash and you’re set! We love both the silicone and natural fiber brushes.
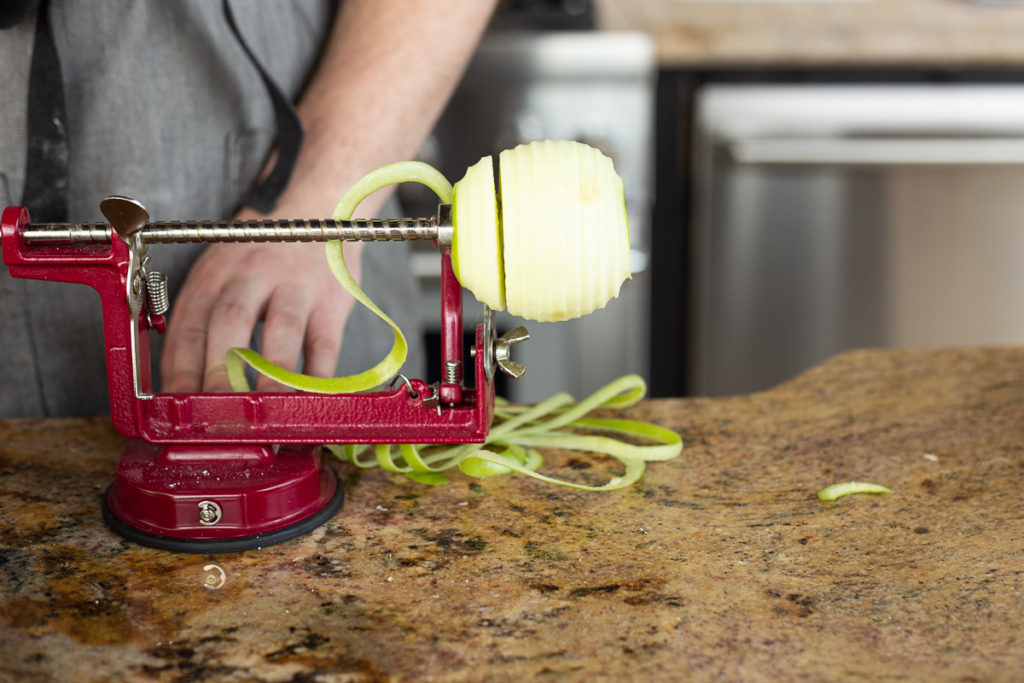
Apple Slicer and Peeler
Making an apple pie? You gotta get you a peeler/slicer. These handy tools perfectly peel and uniformly slice your apples with just a turn of the handle.
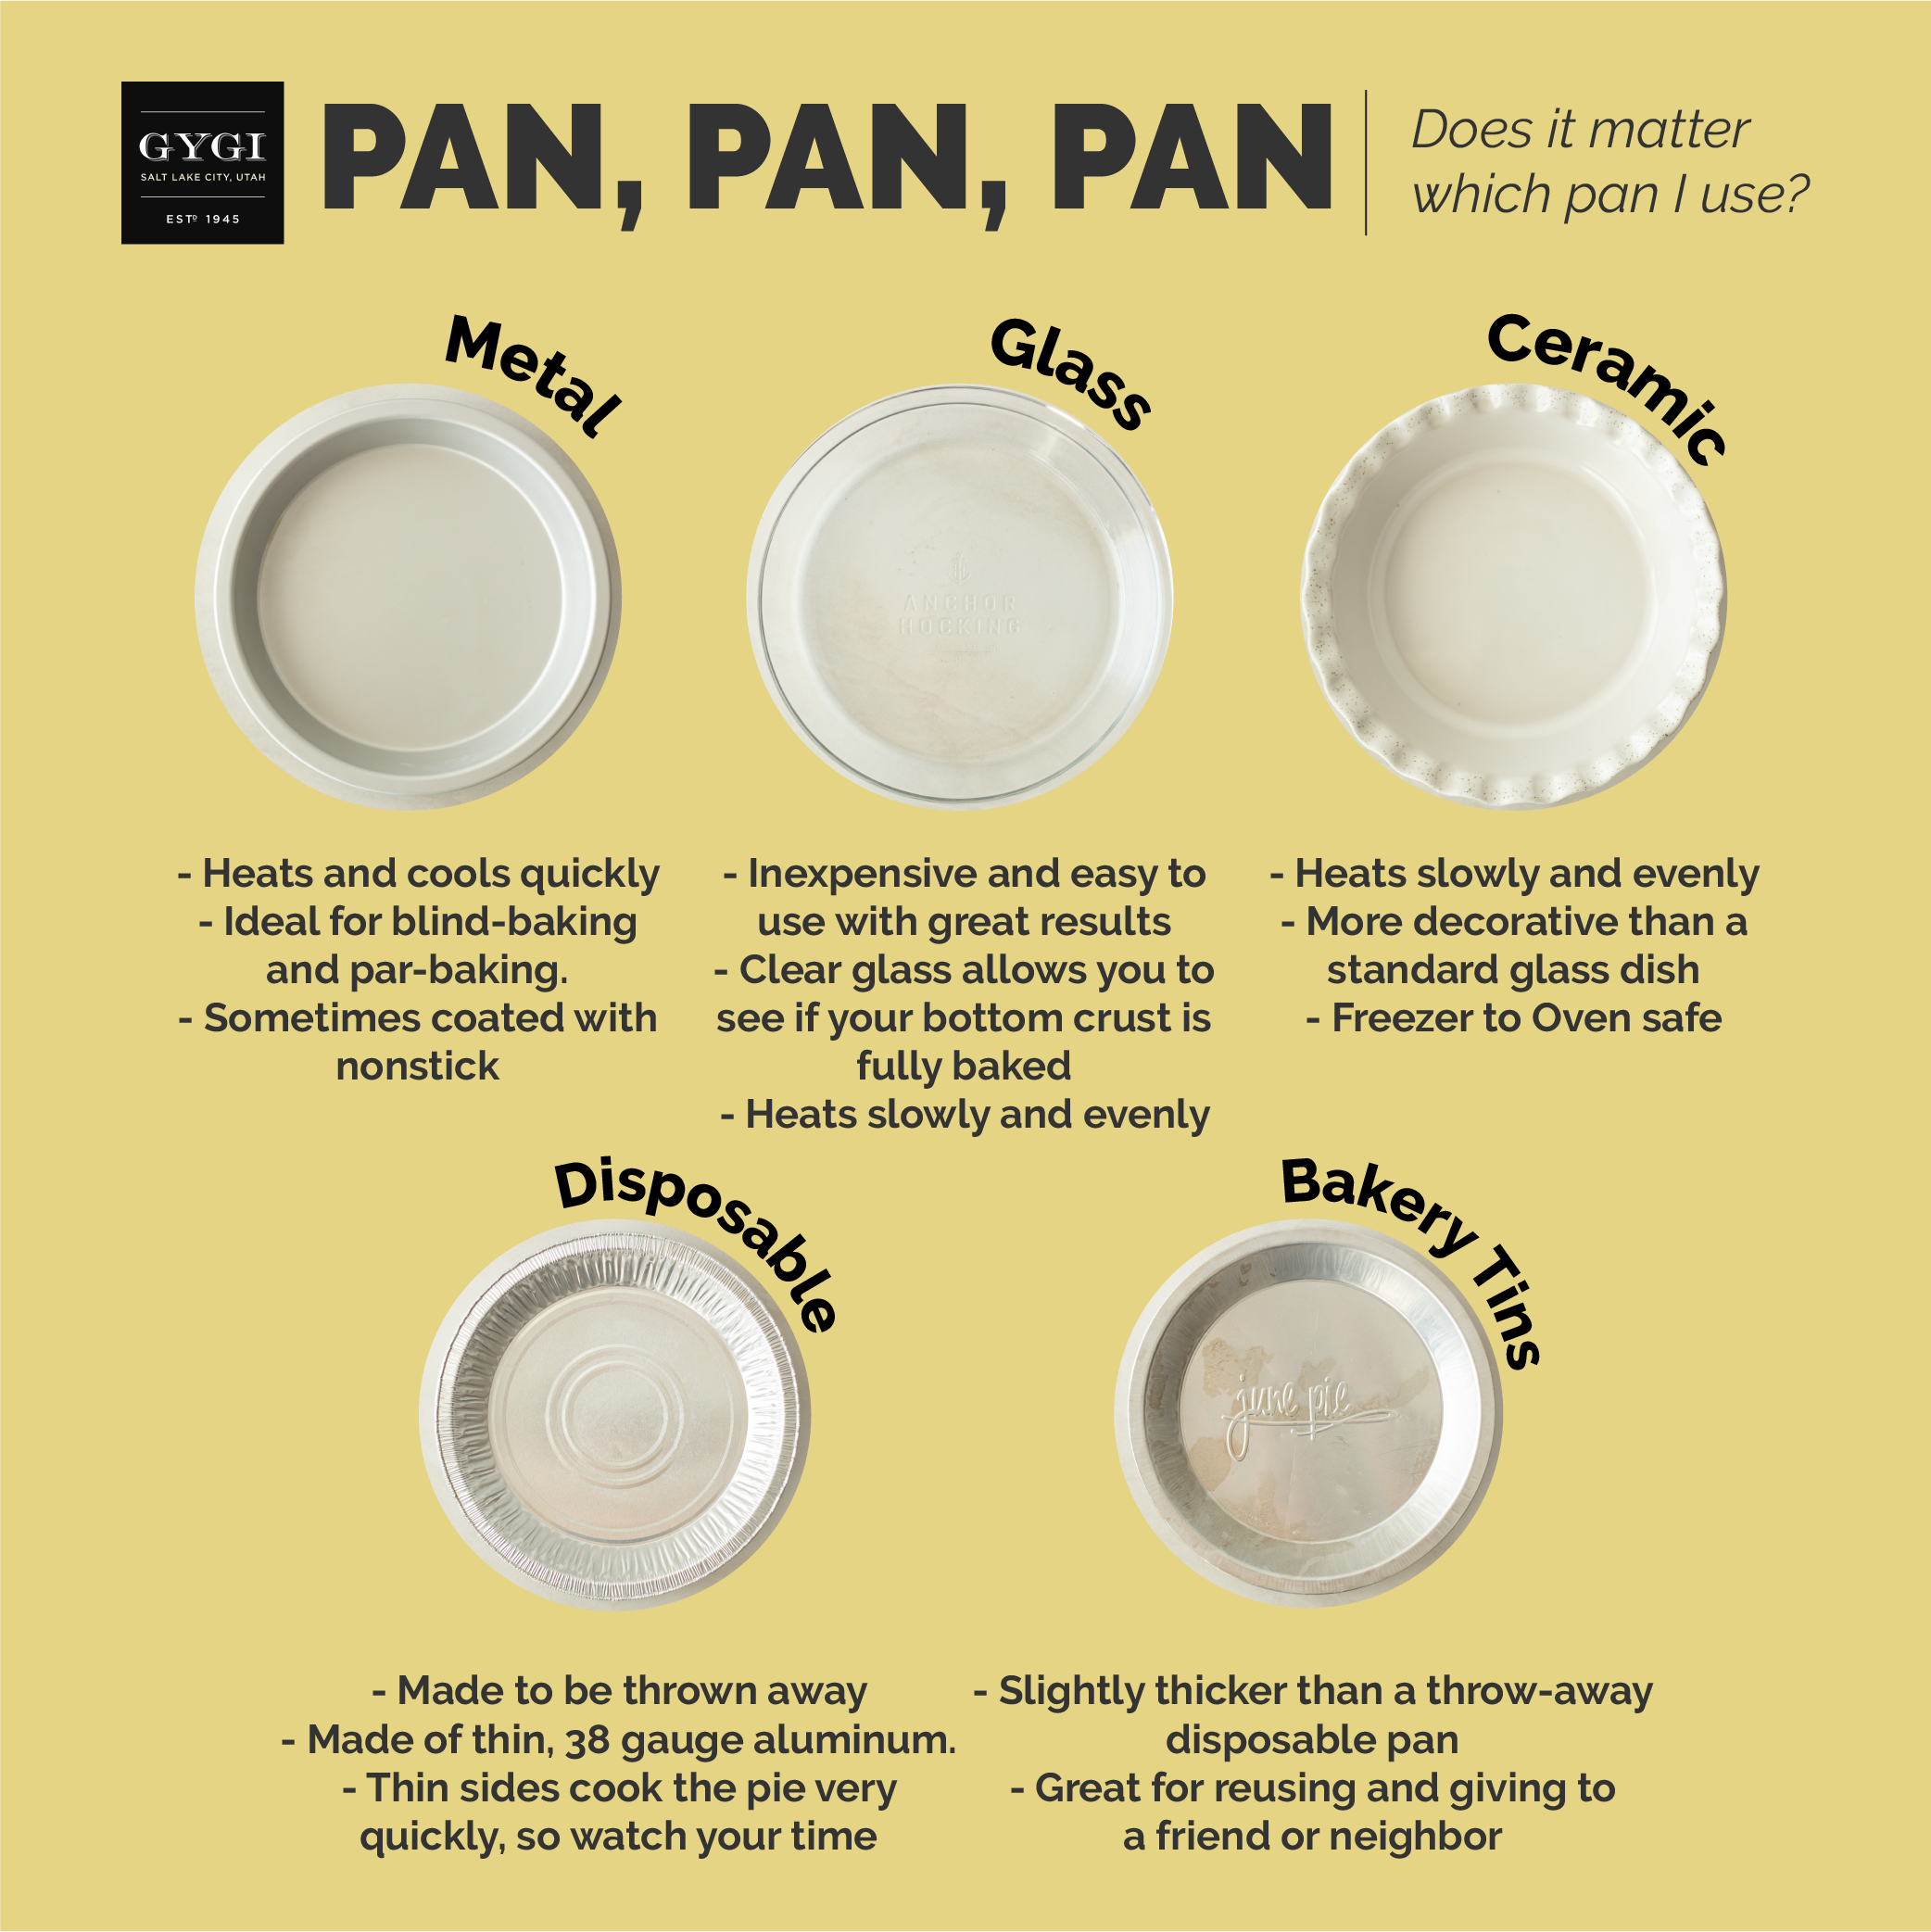
Pie Pans: A Gygi Test
THE PROOF IS IN THE PAN
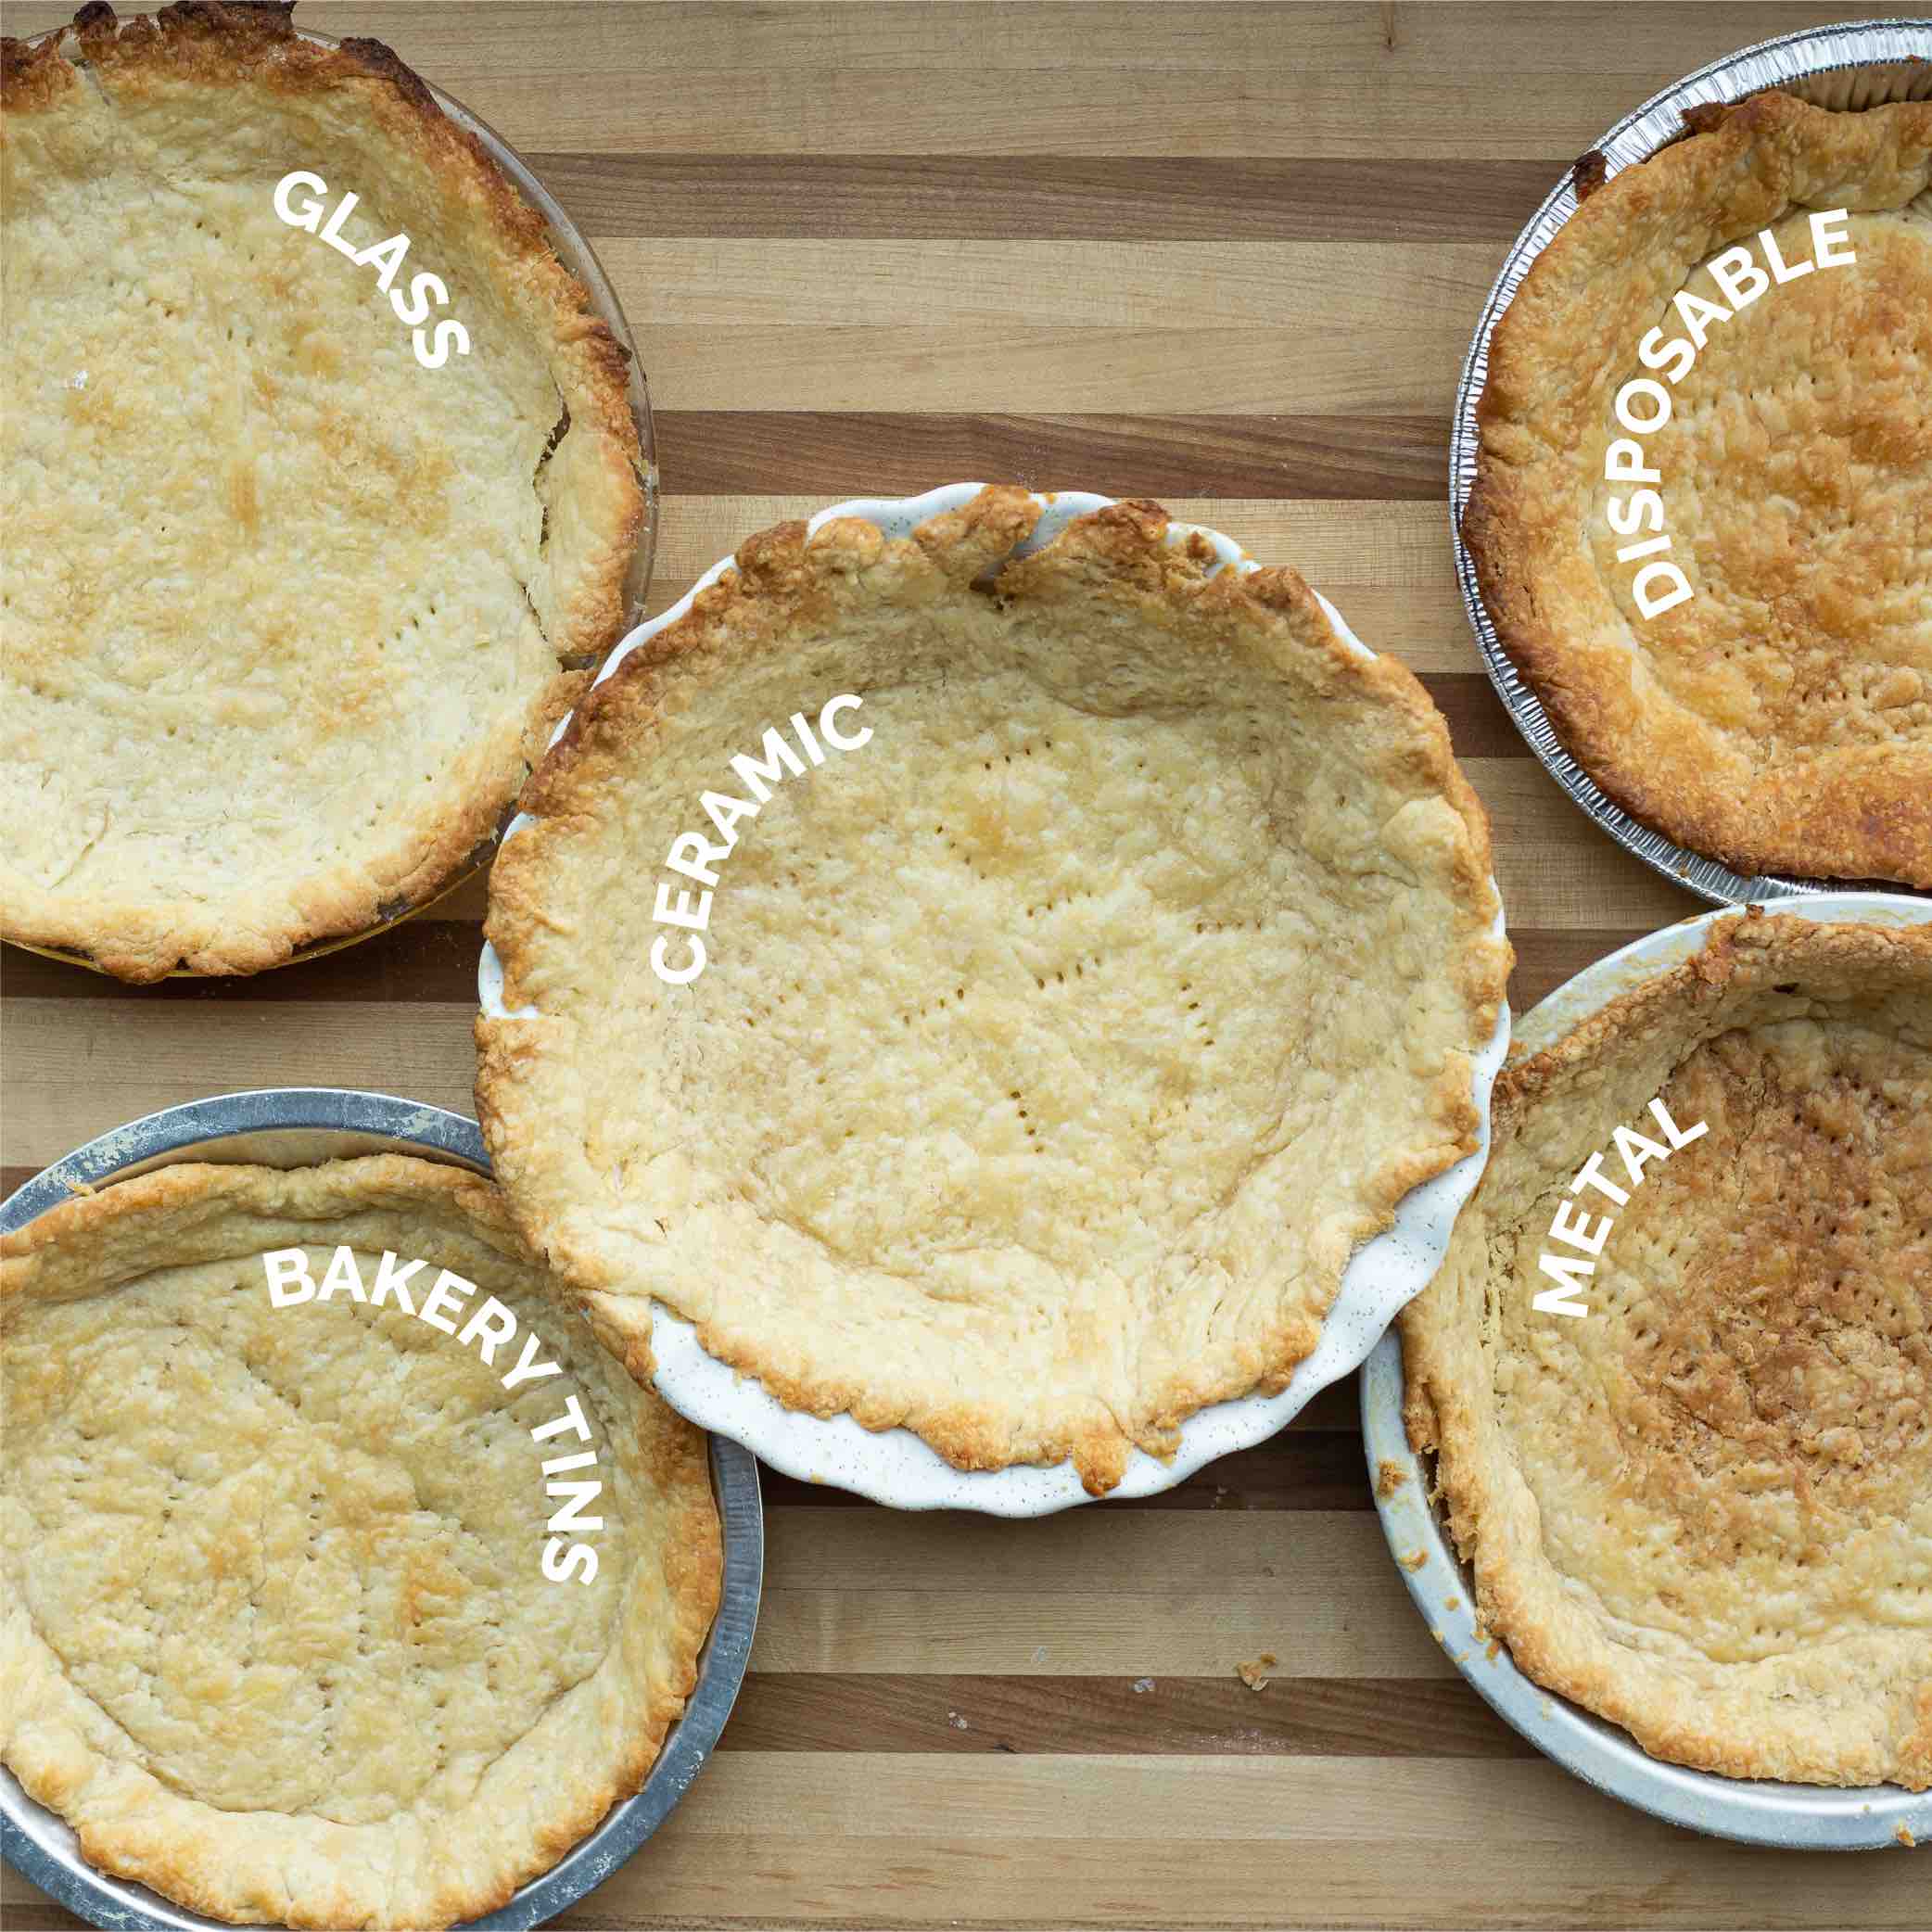
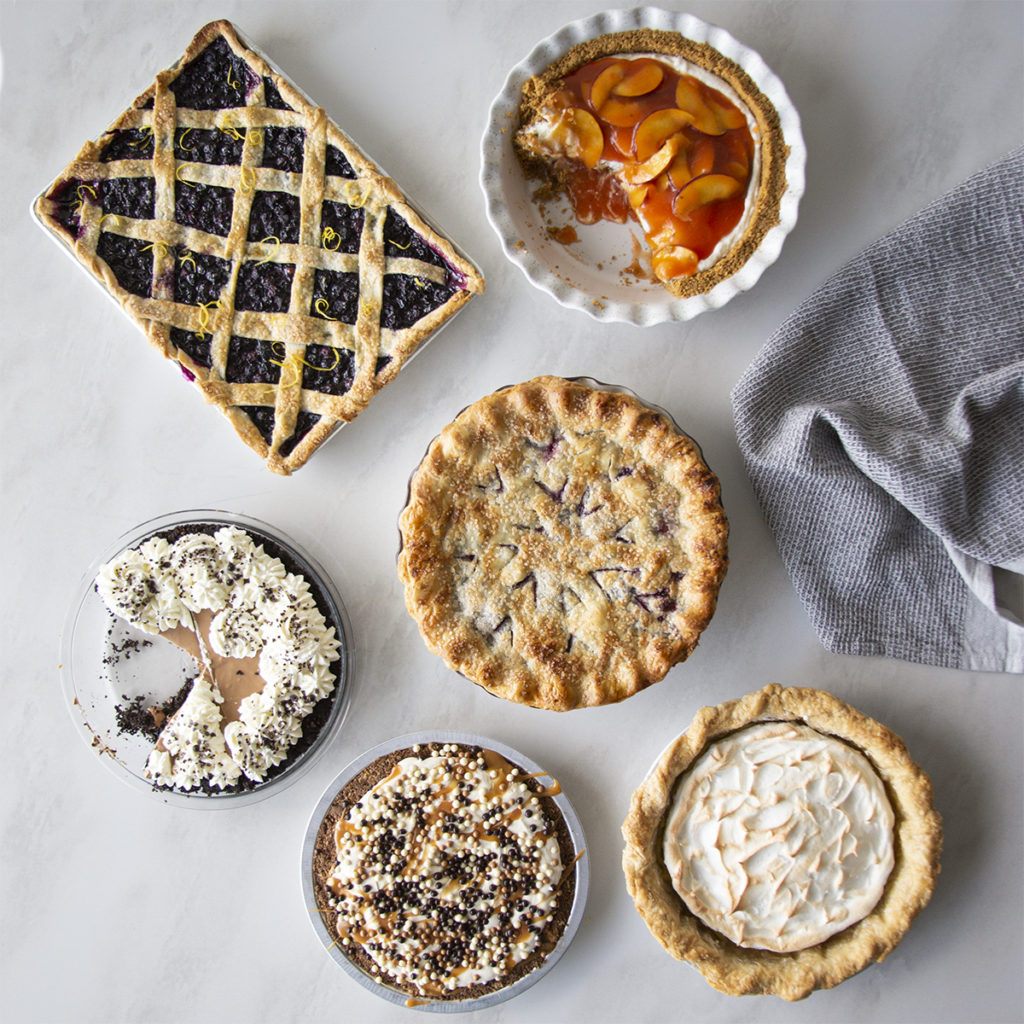
We set out to discover if it really matters which pie pan we use when baking up our favorite pie recipes. So we used the same all shortening pie crust and baked these pies in the same oven, for the same amount of time, without pie weights to see if the pan would make a difference in how these blind baked crusts turned out.
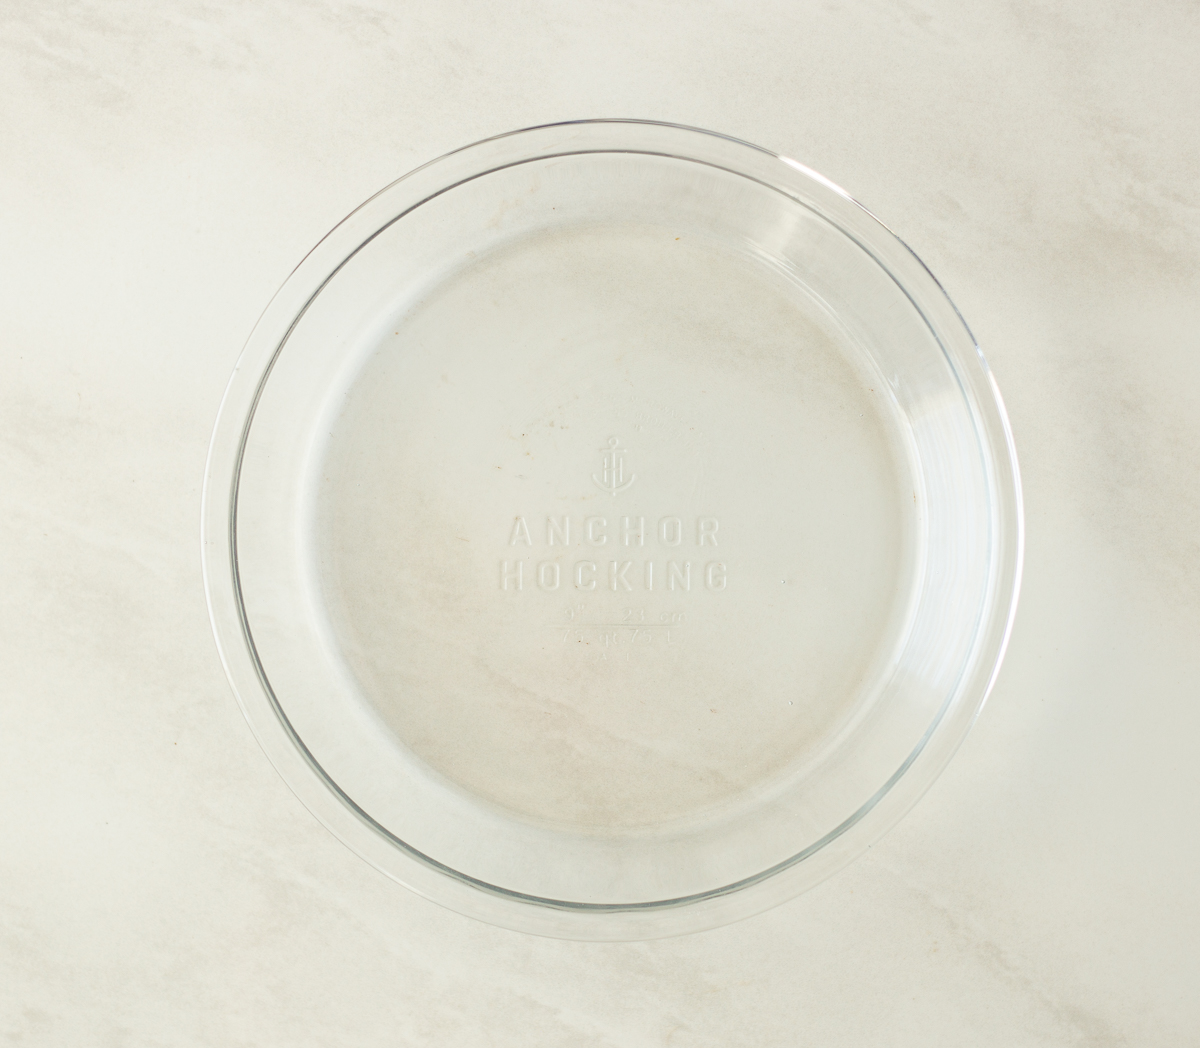
Glass:
Glass pans are a favorite among pie bakers. Inexpensive, easy to use and clean. The glass heats slowly which leads to a consistent browning. Helpful as you can see the crust browning while it bakes, the quest for a fully-baked bottom crust can be achieved!
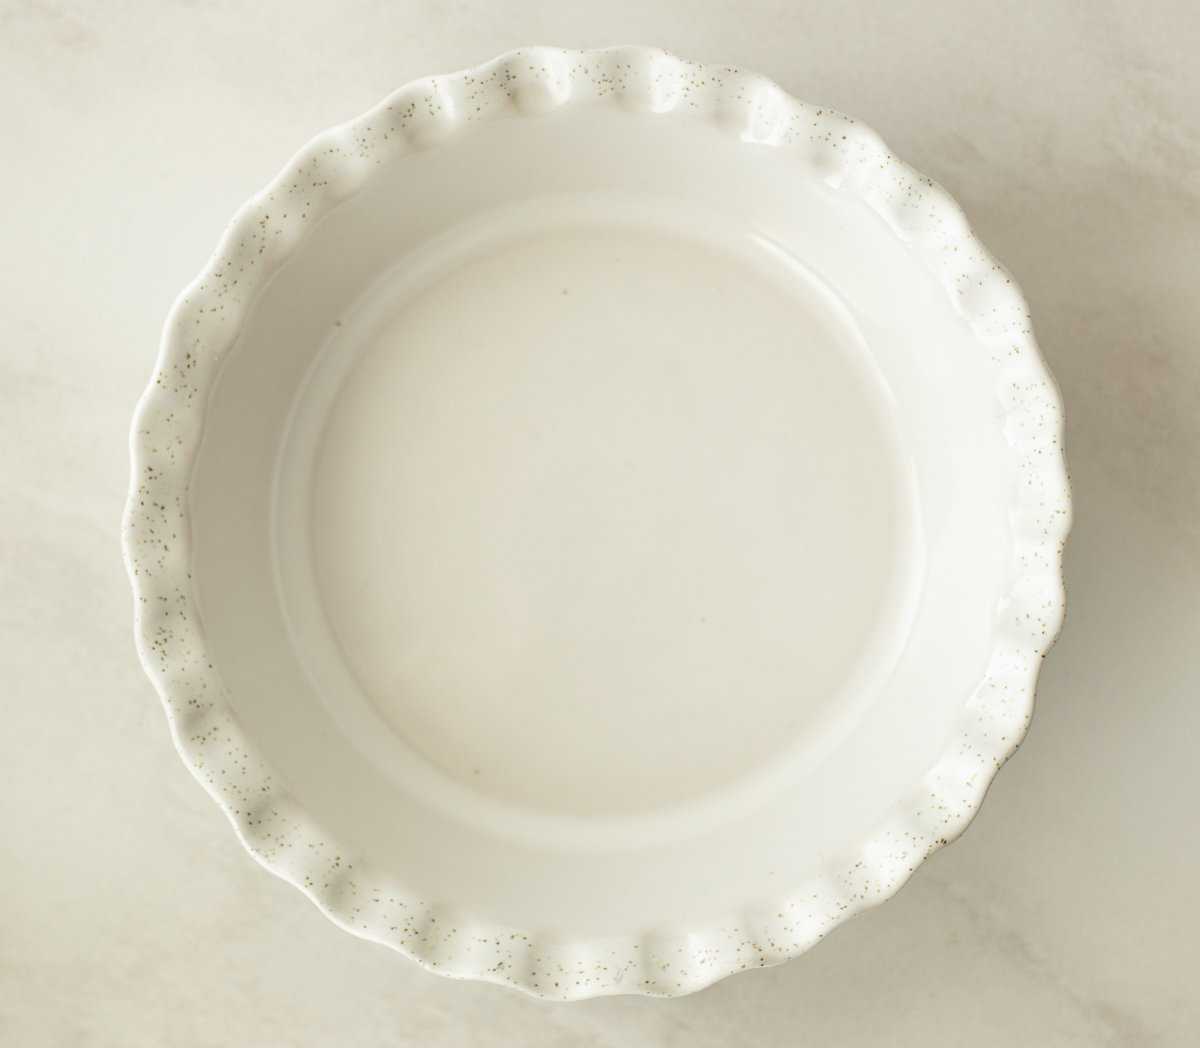
Ceramic:
Ceramic pans heat slowly and evenly, like the glass variety. They tend to be the fancier and more decorative option. One advantage to consider is that they are freezer to oven safe. This is especially important when you want to freeze your unbaked pie ahead of time and then pop it straight into the oven. Ceramic can withstand the drastic temperature changes!
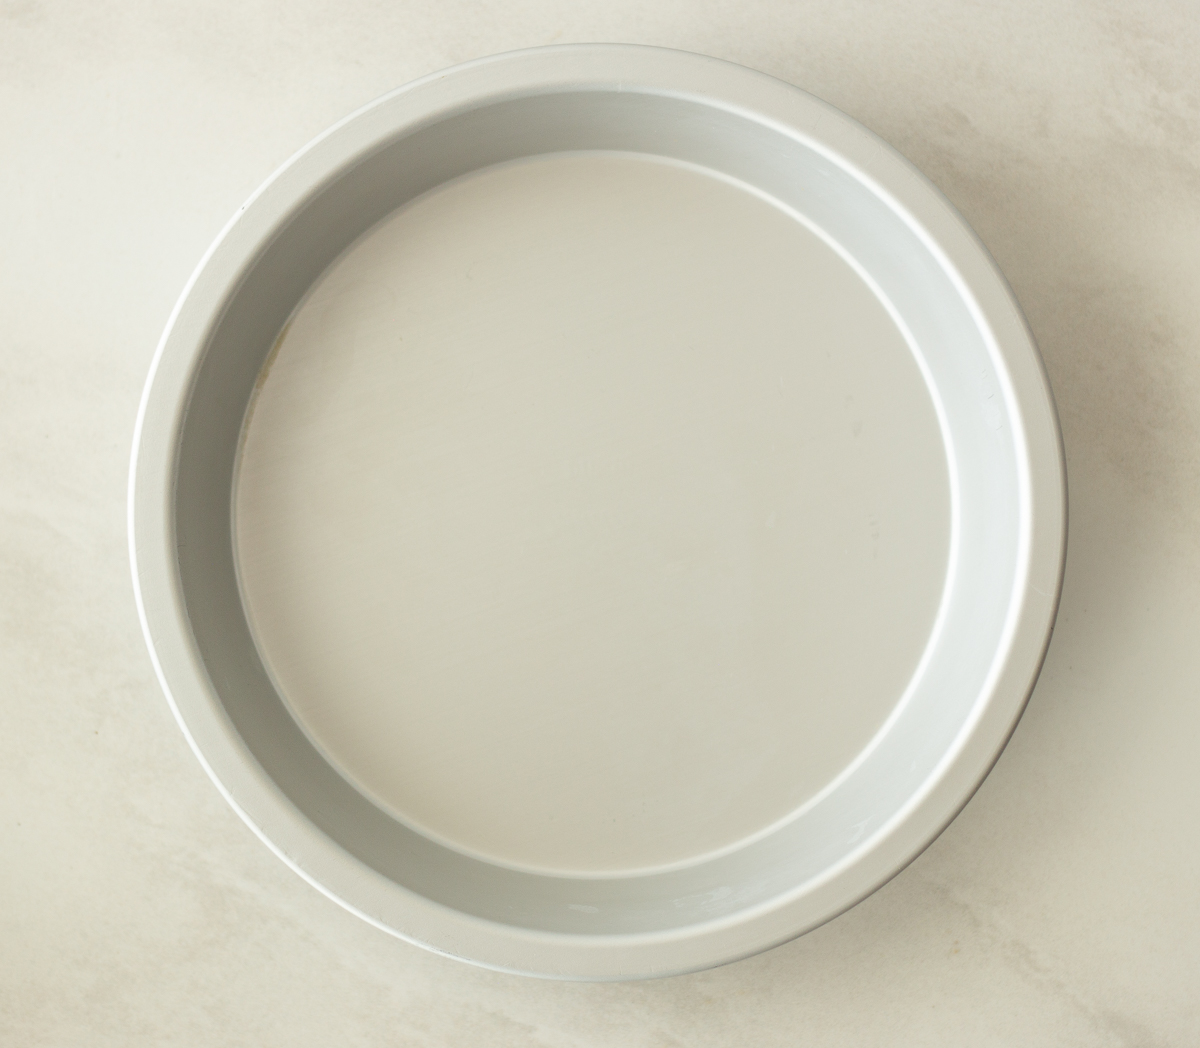
Metal:
Metal pie pans are wonderful for baking pies because they heat and cool quickly. This is particularly useful when you are blind-baking or par-baking your crust. If you haven’t used a metal pan before, you may have to adjust your cooking times, as metal can sometimes cook pies quicker than glass or ceramic. Many times you will find that these metal pans are coated to help with an easy release or anodized to create a more even cooking surface. Be careful of these coatings though when cutting into a pie with a sharp knife, you might scratch the bottom of your pan.
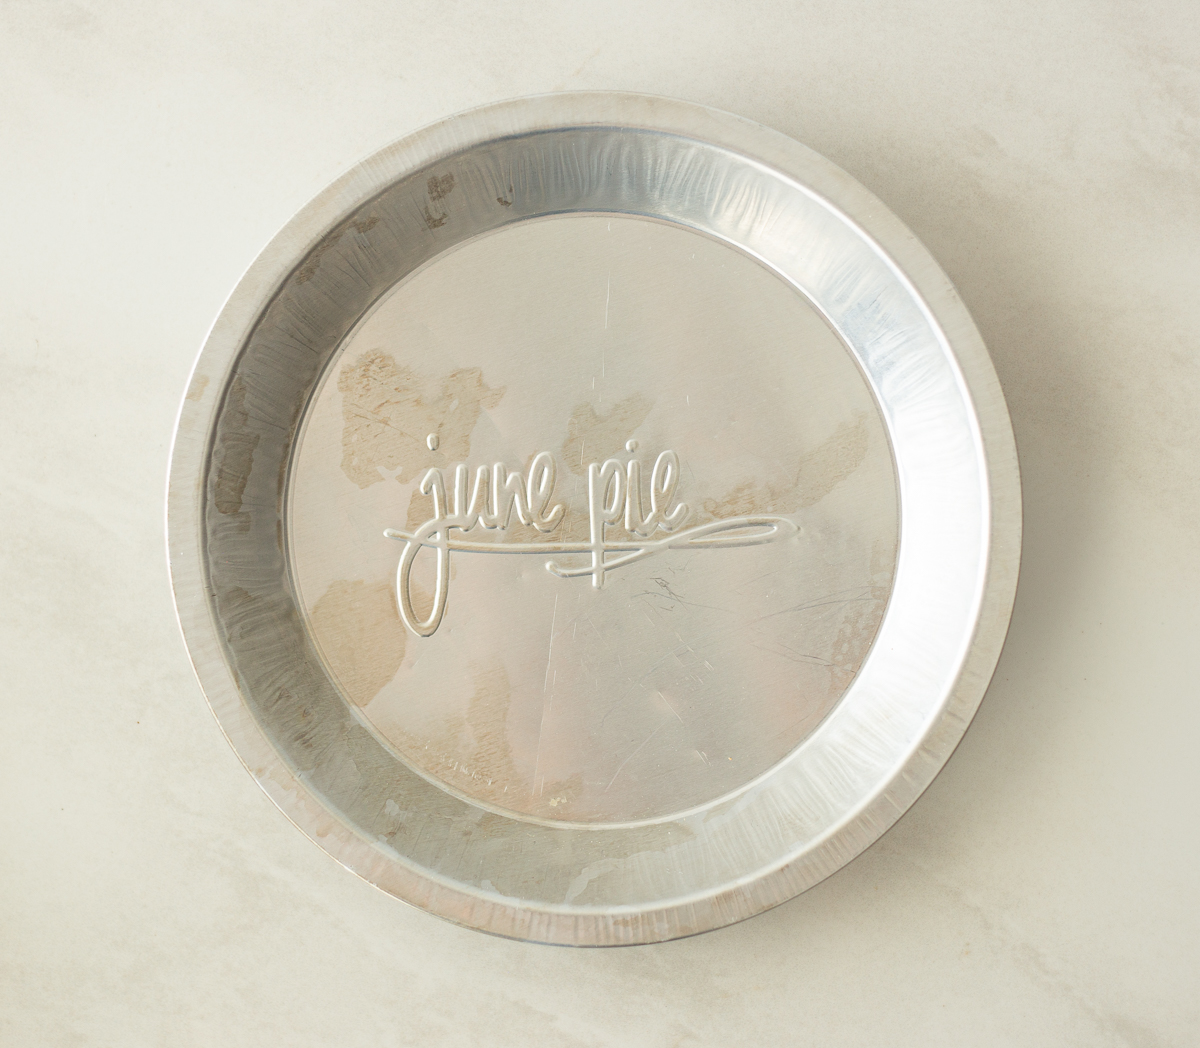
Bakery Tins:
Ah, the aluminum bakery tin. These are the leftover tins from Marie Callender’s or your local bakery. They are slightly thicker than a throw-away disposable pan, but not necessarily the fanciest thing you will have in your cupboard. Many bakeries use these to send pies home with customers and you can do the same with yours. Think of these pans as the ones you reuse and give away to a friend or send to the neighbor for dinner. They get the job done (and actually bake super well) but you won’t be sad if they don’t make their way back to your kitchen!
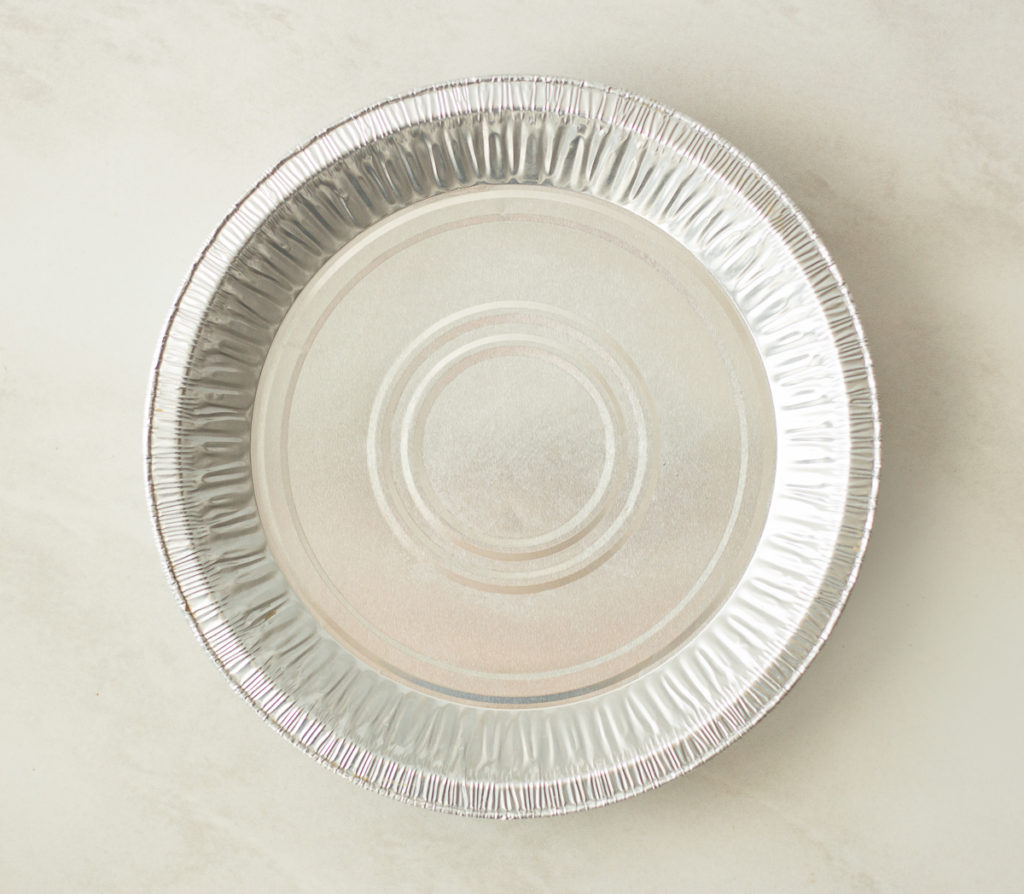
Disposable Pie Tins:
The disposable pie tin is made to be thrown away after a single use. These are usually made of a thin 38 gauge aluminum and can be flimsy. Use these pans for a bake sale, a backyard BBQ, or Christmas neighbor gifts. A word of caution: Because these are so thin, they bake pie crust very quickly and can sometimes lead to a slightly overbaked crust. Watch your time and temperature carefully with these!
While your hands and a simple pie plate is all you really need to bake delicious homemade pie flavor, we hope a few of these tools can help you enjoy the process and love found in a fresh pie right outta the oven.
SHOP ALL THE PIE TOOLS HERE
For the Gygi Guide to Pie, click here.
No Comments