The basic cinnamon roll – feels like we just shouldn’t change a classic, and we agree! If you already have a favorite recipe, we want you to stick with it. Our goal with the Gygi Guide to Cinnamon Rolls is to introduce new techniques and ideas to take your very own recipe to the next level.
Do you know your dough? Lean vs. Enriched
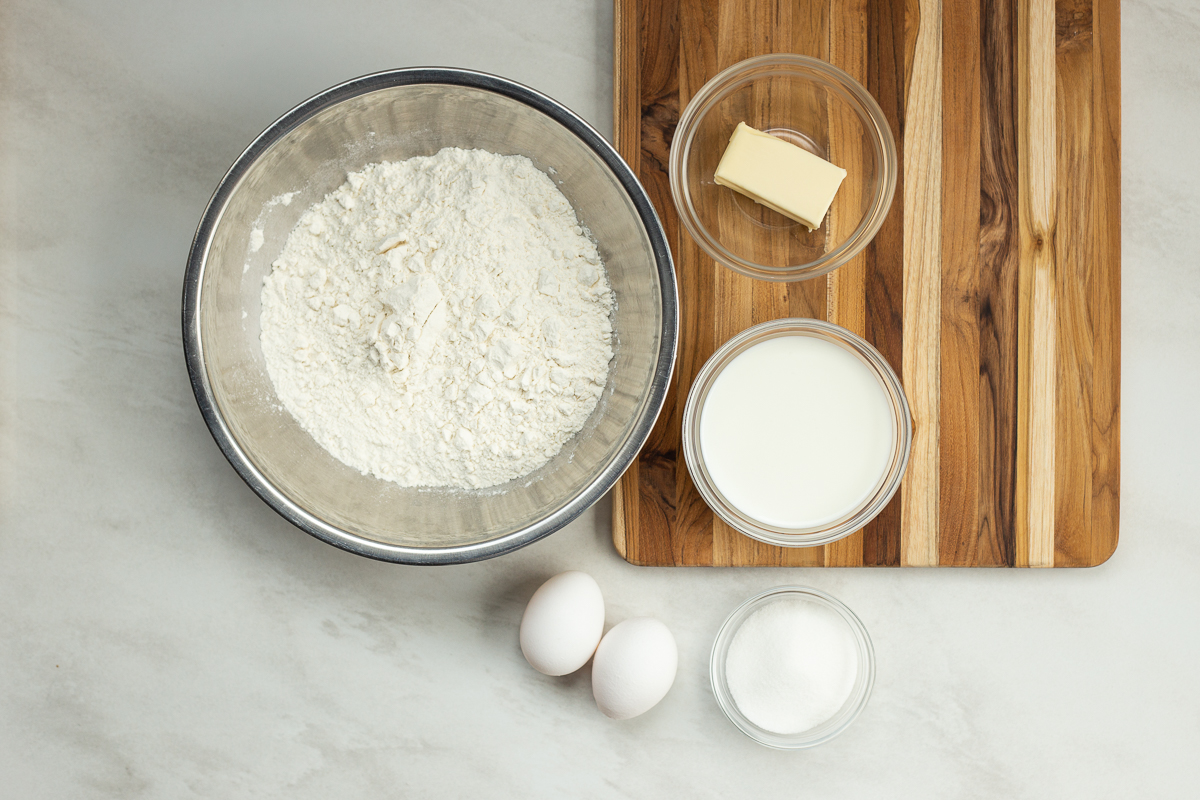
We need to start with the type of dough we are using. A regular “lean dough” is straightforward and contains the standards: flour, yeast, salt, and water. An enriched dough is created when a lean dough is “enriched” with eggs, butter, and milk, causing the dough to act differently. This enrichment process produces a roll that will be softer and stay fresher longer. The fat in the enriching additives provides a rich mouth-feel that we perceive as moistness; it also creates a barrier that helps prevent moisture from escaping. In addition, fat coats gluten and keeps it from bonding too strongly, producing a delicate crumb.
Butter
The butter in the dough helps with the texture and sets this type of dough apart from a lean dough. Many recipes call for melted butter to be added during the initial mixing of the dough. This allows for more thorough incorporation into the mixture. A brioche-style sweet dough requires the butter to be in a more solid state and added into the dough later in the mixing process. By this point, the gluten network should have been able to form. The butter will still coat the gluten particles creating fat bubbles in the dough. These will then melt when the bread is baked. These two different techniques of butter incorporation provide a different texture in the final bread!
Milk
The job of the milk in an enriched dough is to weaken the gluten network slightly. We need a firm dough that can hold up to filling and shaping, but we also want a soft and fluffy texture. Full-fat milk will help that happen. Many recipes recommend whole milk, but plant milk can be substituted on certain occasions. This is a fun way to play around with your favorite recipe. Trying to use soy milk or rice milk to create a distinct flavor and for dietary purposes.
Eggs
When you add eggs to your dough, you will have a richer and finer dough. The eggs help bind the ingredients together, they add a little extra color, which is beautiful when your dough browns in the oven. If you leave the eggs out, the dough will not be as sturdy, and you’ll need to add a little more liquid.
Flour
All-purpose flour is the old reliable standard. This flour was designed to be used in every application: cakes and cookies, pies and bread. It contains a fair amount of protein that allows the flour to remain firm yet offers a tender structure for something like a cake. Usually, specialty flours’ differences are quite subtle because all-purpose flour was truly engineered to be “all-purpose.”
When it comes to bread flour, this is considered “bringing in the big guns.” Bread flour contains more protein than all-purpose flour, which allows the flour to better contain the gluten and form more structure. This will enable them to keep a nice shape. Air will be captured in the structure thanks to the gluten in the bread flour. Bread flour can absorb more liquid than all-purpose flour—i.e., it has a higher hydration capacity—more liquid in the dough = added moistness/softness in the finished roll.
Typically when you want to incorporate bread flour into an existing recipe, bread flour can be substituted 1:1 for all-purpose. Doing this will create a stronger dough to hold up to sweet fillings, especially with cinnamon rolls. Just remember that bread flour absorbs more liquid than all-purpose, so you might need to adjust your liquid. If it is looking too dry, try adding a little bit of water or milk to your dough! We love training our senses to know when something is off in our dough. It could be the weather, the temperature of your kitchen, or even just something about the specific day. Knowing how your dough should look and feel is super important! Trust your gut and make small changes if needed.
Want to learn more about which yeast to use for cinnamon rolls? Read more here.
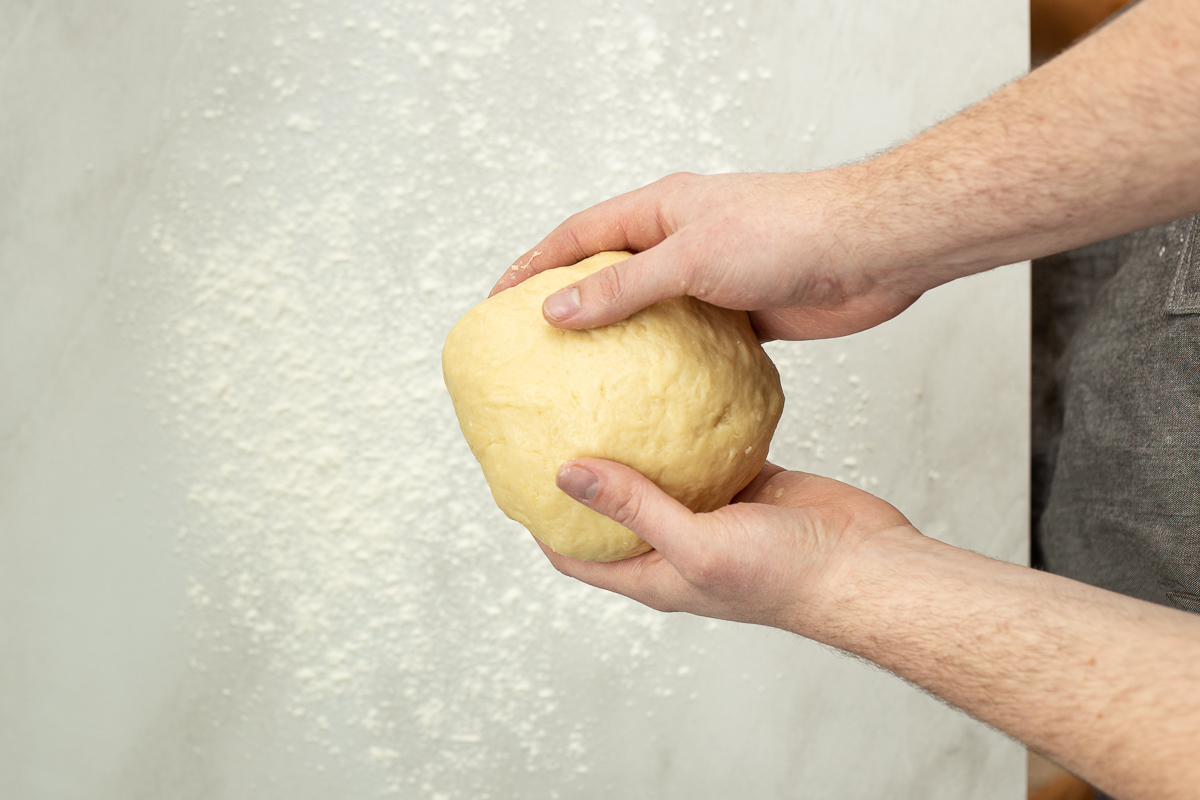
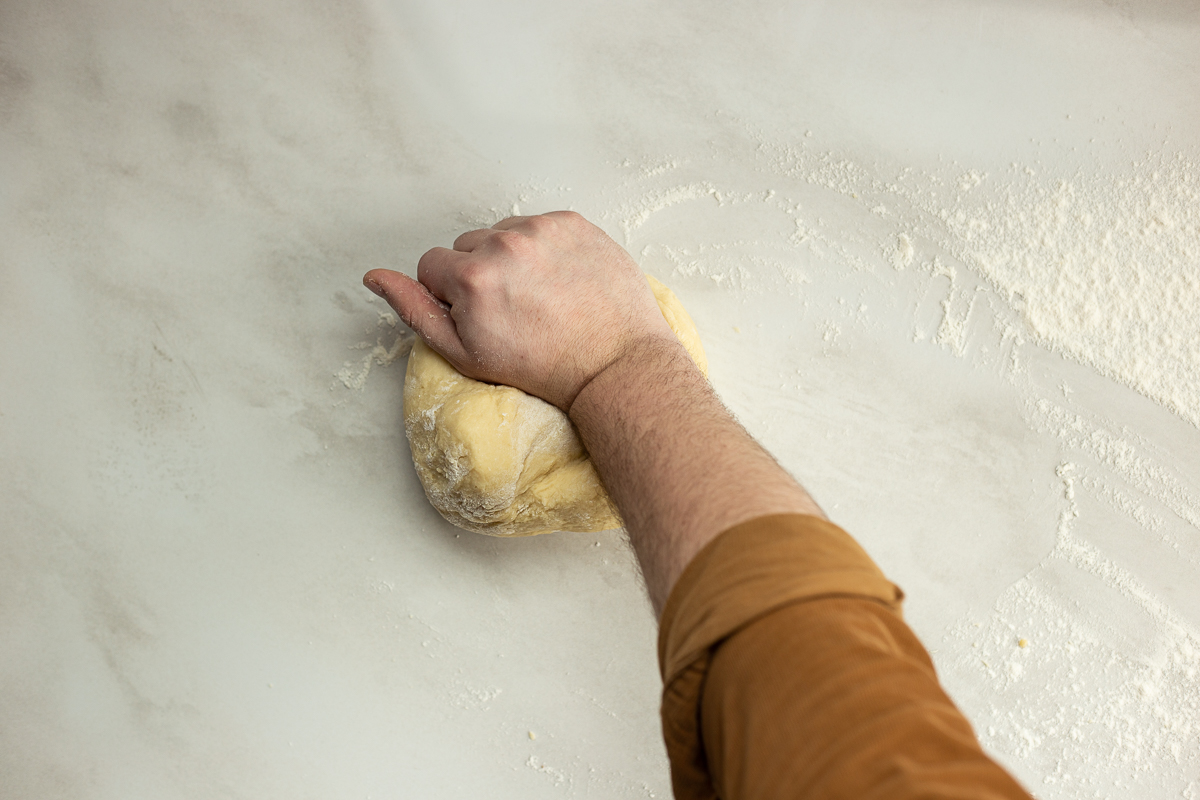
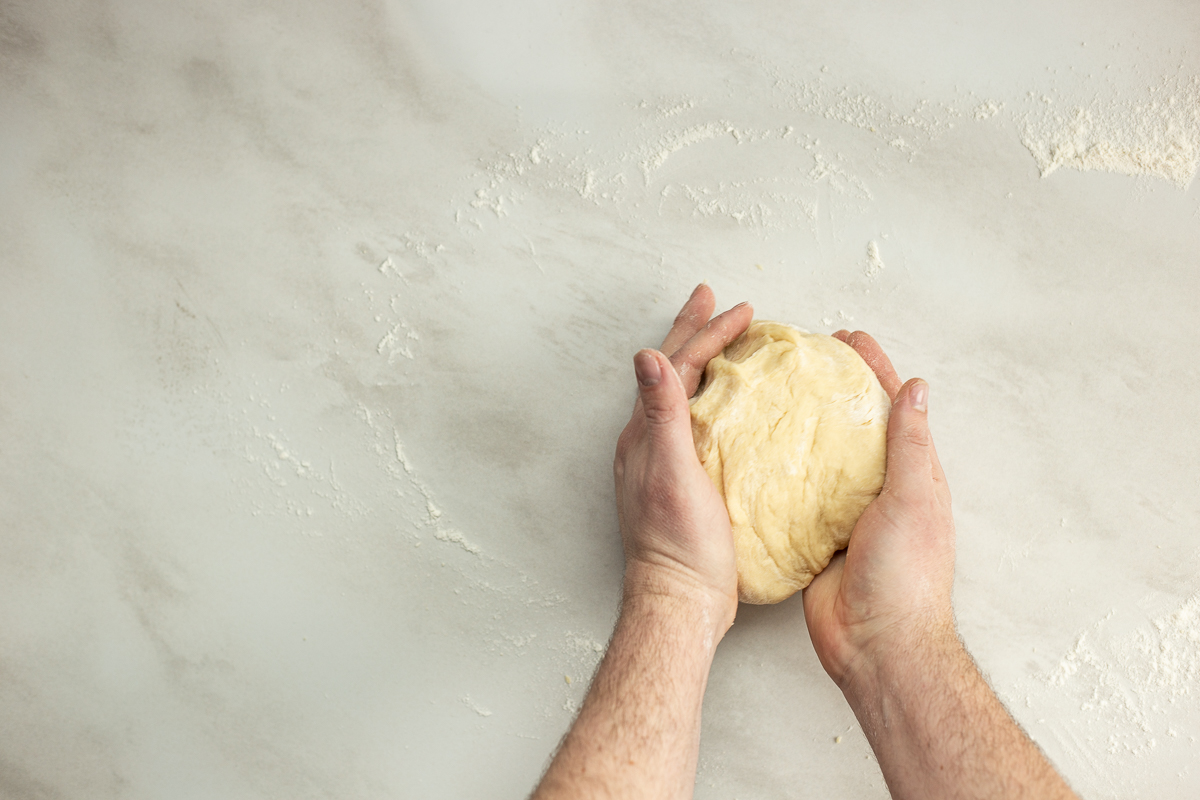
Kneading
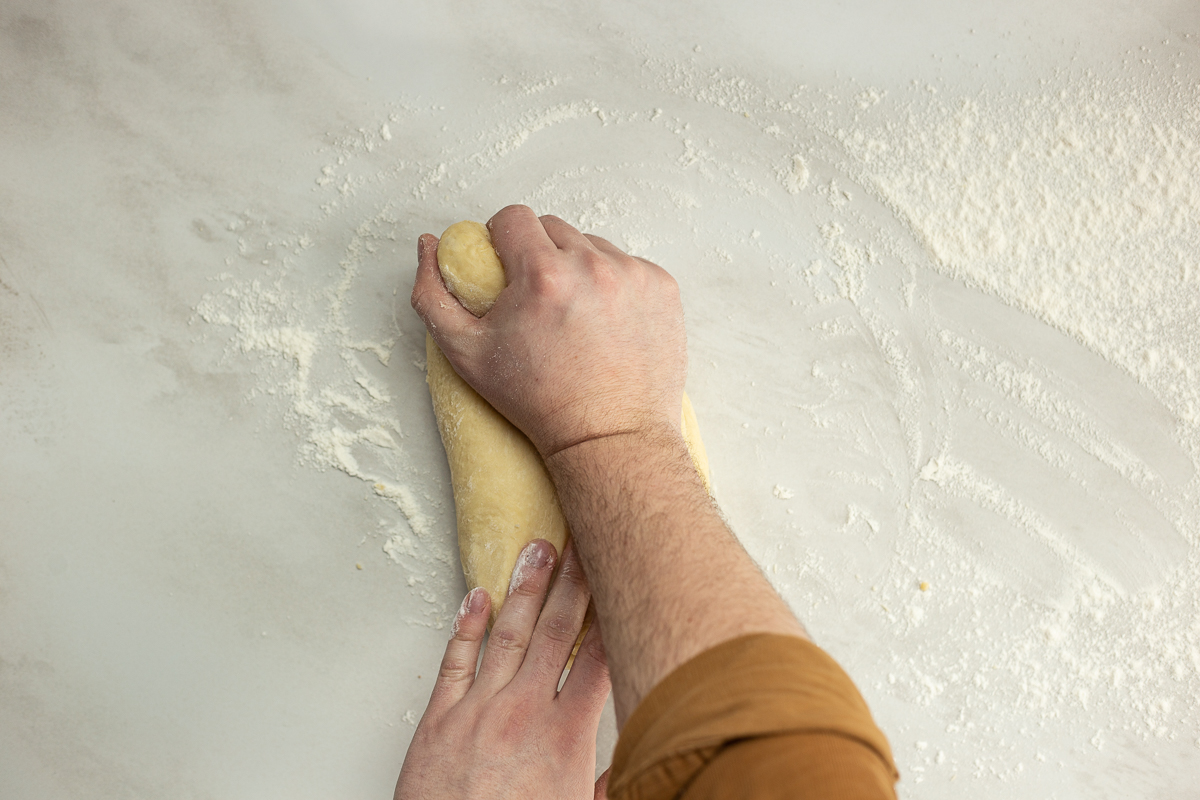
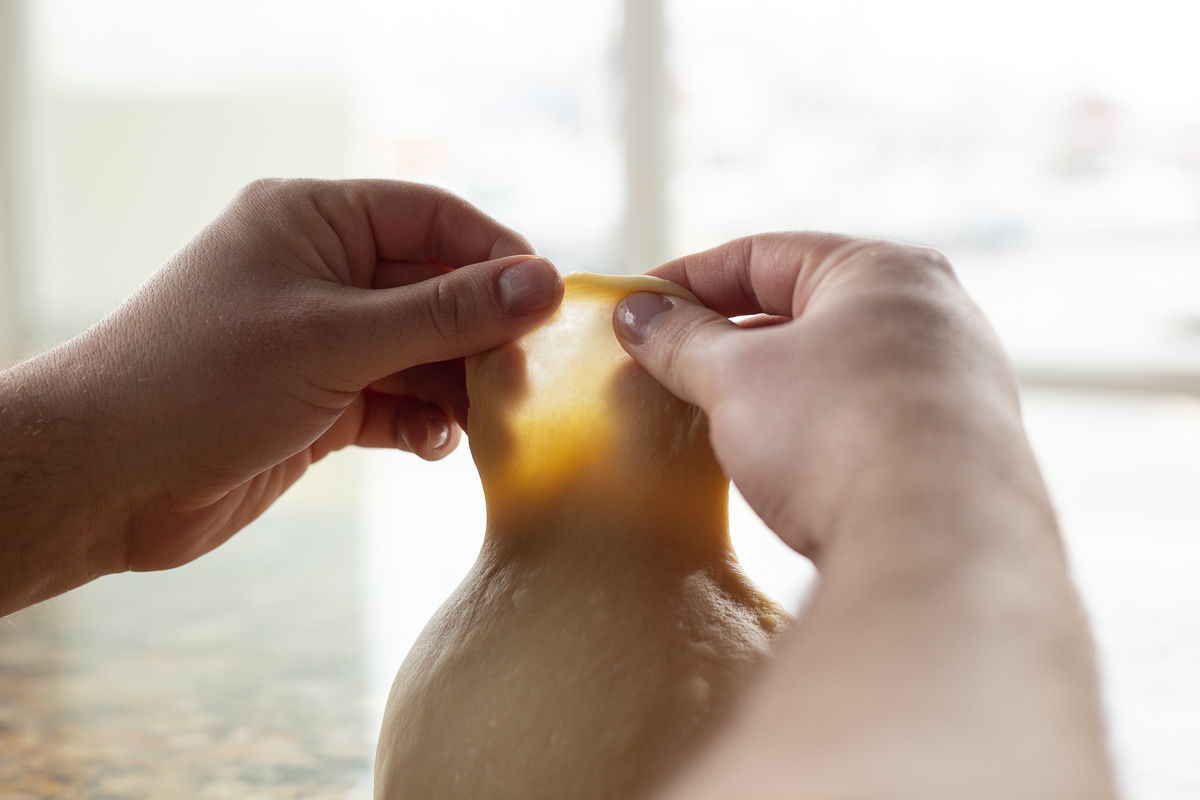
Next up in the guide to cinnamon rolls is kneading. There are some tricks when it comes to kneading your cinnamon rolls, starting with a slow initial knead, then increasing the speed to help the creation of the gluten strands to form more evenly. The dough is ready to use when it can hold up to the “Windowpane Test.” Stretch the dough thin enough in one spot, and if you can see light through it without the dough breaking you know the gluten strands are developed enough to hold up to the heavy dough and fillings. This mixing method produces bread with a very tight crumb structure and a soft, slightly chewy crust. It also gives the dough enough gluten strength to be manipulated in lots of ways.

A typical cinnamon roll enriched dough using all-purpose flour usually requires about 8-10 minutes of kneading. When using bread flour, the dough needs a little longer to form, sometimes up to 15 minutes. The gluten takes more time to develop but will result in a much stronger dough.
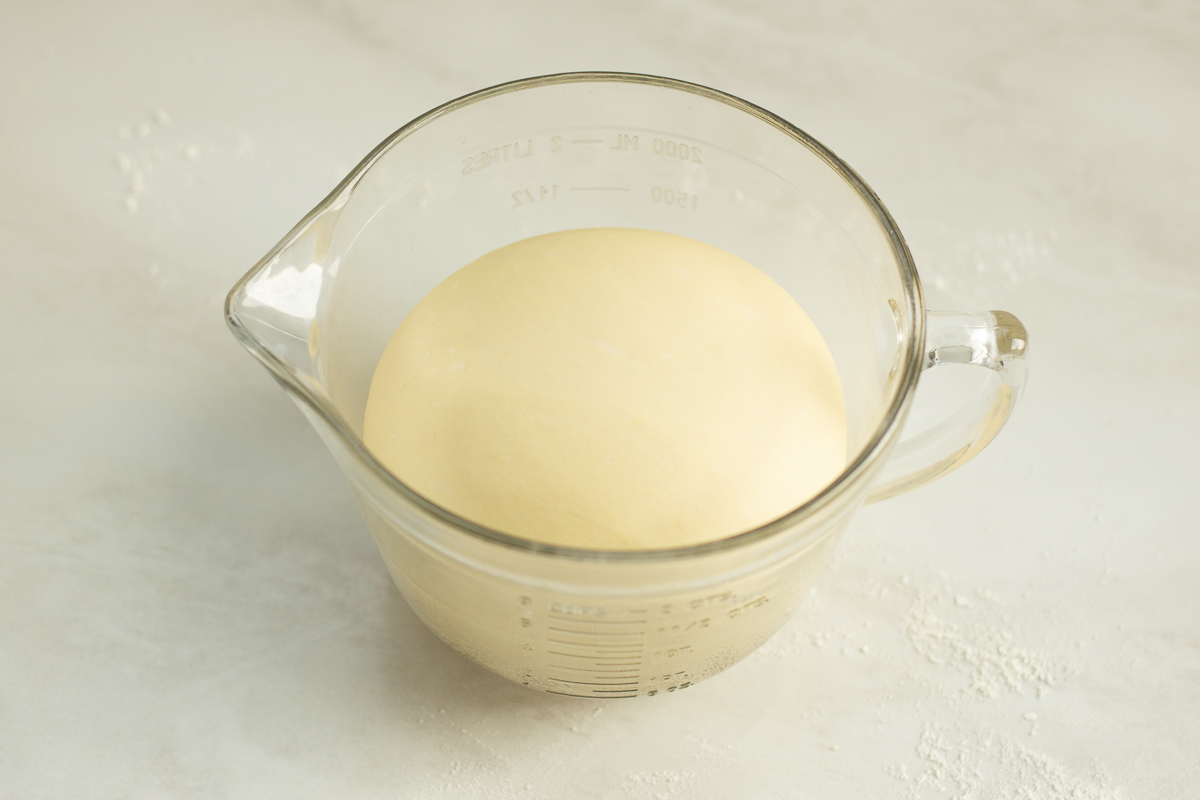
Proofing
The proofing process is another time to use those senses! Many recipes vary on how much time to take for the 1st and second rise. Generally speaking, enriched doughs will take more time to rise as the enrichments inhibit the dough slightly. Sugar can impede fermentation by absorbing some of the dough’s moisture; the yeast has to “fight” to be adequately hydrated before it can start feeding and fermenting. We know that fat (in the form of eggs or butter) can coat the flour, which means it will take longer for the yeast to successfully consume the simple sugars found inside the flour’s carbohydrates.
Depending on several factors, the first rise can take between 1 ½ to 3 hours. This is when your eyes come in, though. We are usually looking for the dough to double in volume when making a sweet dough. Keep an eye on the dough to know when it’s ready to move to the next step. After you fill and shape your rolls, the second proofing goes a little bit quicker. To determine if they are ready to bake, poke your finger into the dough. If it springs back immediately, it needs more time! If it holds its place for a moment and then begins to slowly return to its original position, it is adequately proofed and ready for the oven. If your fingerprint sinks in and doesn’t spring back at all, the dough may be over-proofed. Don’t worry though, you can still bake it; you just might have a different texture in your finished product.
Want to do an overnight proof? The old visual cue of “double in size” is still a good guideline when in doubt, but count on refrigerated fermentation time being anywhere from 12 to 24 hours. Also, you’ll always have to bring the dough to room temperature, and then some, to properly finish it. These kinds of changes to a recipe will require a little bit of experimentation, but it definitely can be done.
Filling
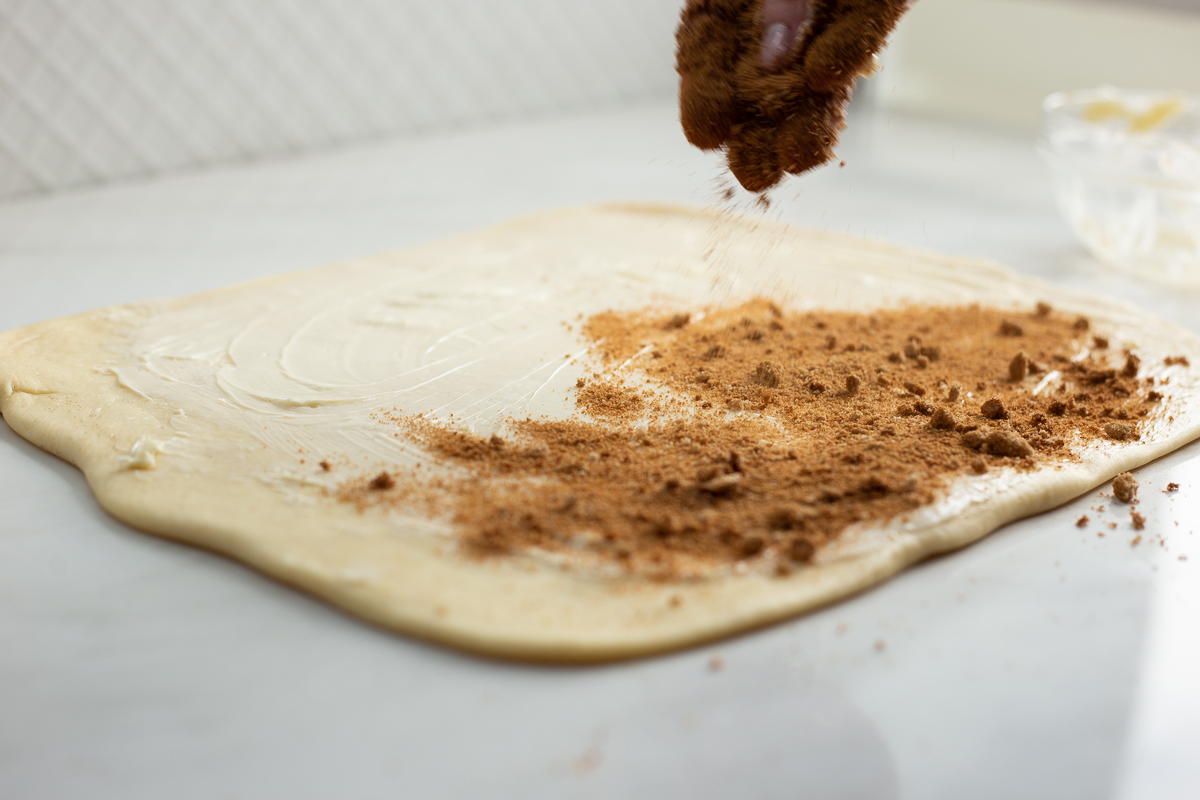
A typical cinnamon roll is filled with a mixture of cinnamon, sugar, and salt. This is a classic pairing that caramelizes in the oven and makes for that traditional cinnamon roll taste we are so familiar with. A lot of fun can be had with these ingredients, though. Playing with the ratios of cinnamon and sugar can mix up the flavor in many ways. We like using brown sugar in our mix for the added molasses flavor, but white sugar is definitely a more classic and probably the way your grandma probably did it. The cinnamon can also be played around with by using spices from different regions or even a spice mix, like pumpkin pie, for a festive twist. We also love to throw in a handful of cinnamon chips when we are feeling a little bit extra. Finally, salt is essential in all baking applications, and it works so well in this mixture. Salt really brings out the flavor of the spices while cutting through the sweetness.
Adding filling to traditional bread dough can interfere with the gluten formation and rise. This is the reason doughs with fillings are typically created in an enriched fashion. Those enrichments provide the added strength and support the dough to keep the delicious fillings from destroying the gluten strands. The stronger the dough, the more filling we can add. And who doesn’t love some filling? Cinnamon and sugar are the obvious additions, but you can add nuts, fruit fillings, and even chocolate with a strong dough! Options galore!
Sizing and Rolling
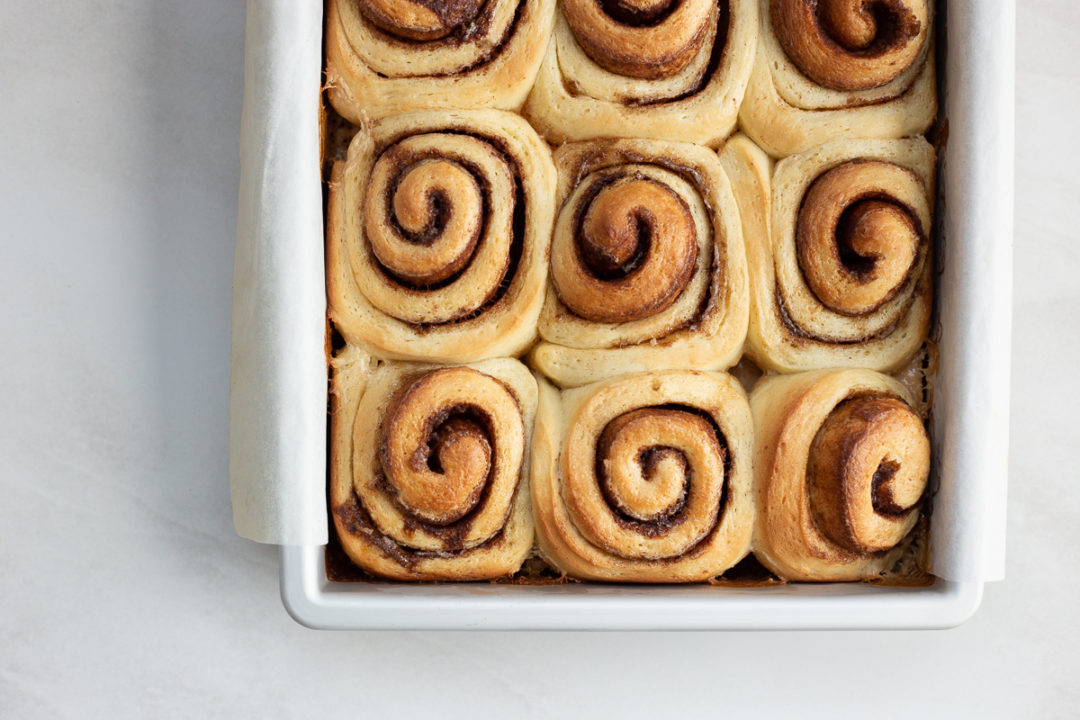
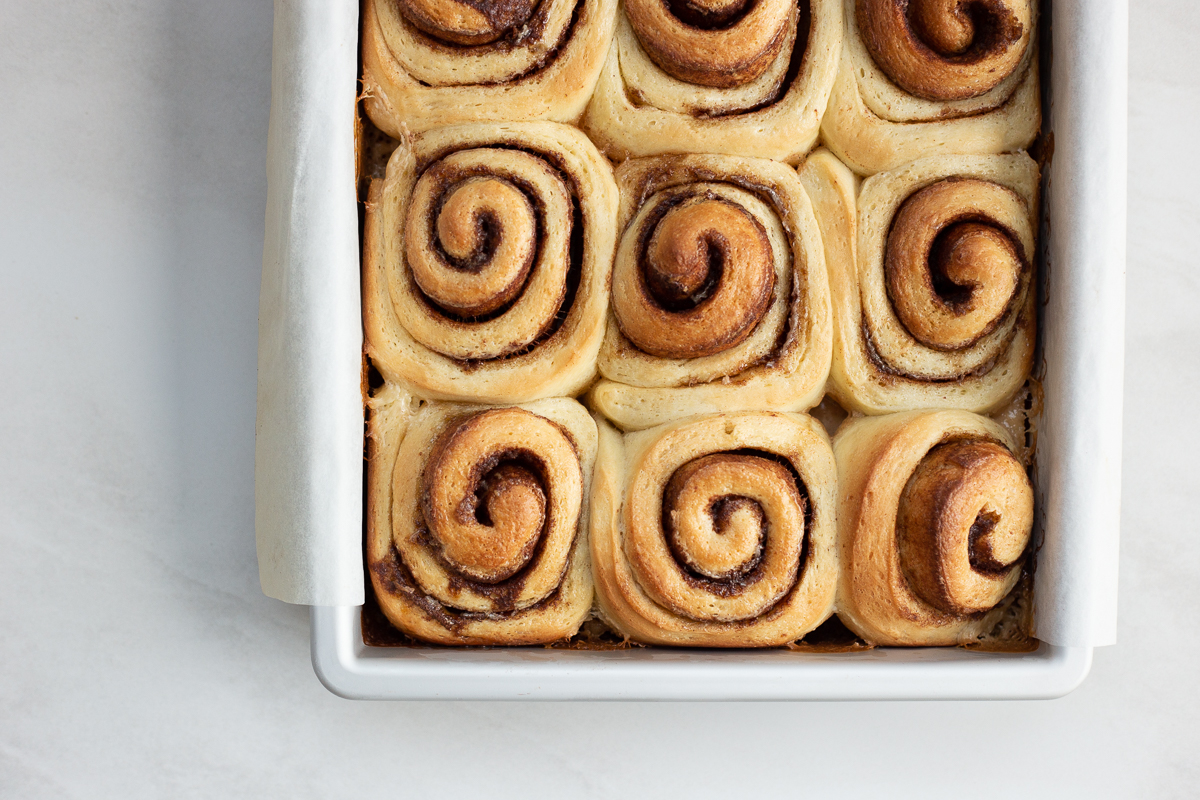
Depending on the amount of dough your recipe makes, thinking about the perfect size to roll to should be a major bullet point on your dough checklist. While you don’t have to be entirely exact, we love using a yardstick or ruler to get accurate measurements. That way, we are confident we will get enough rolls to fill our pan and get exact sizes (always striving to be a little professional and fancy, right??). Our standard recipe calls for a 14×9 inch rectangle to produce 12 perfect rolls. This can be altered to create larger or smaller rolls, depending on your pan’s size or the size of your appetite!
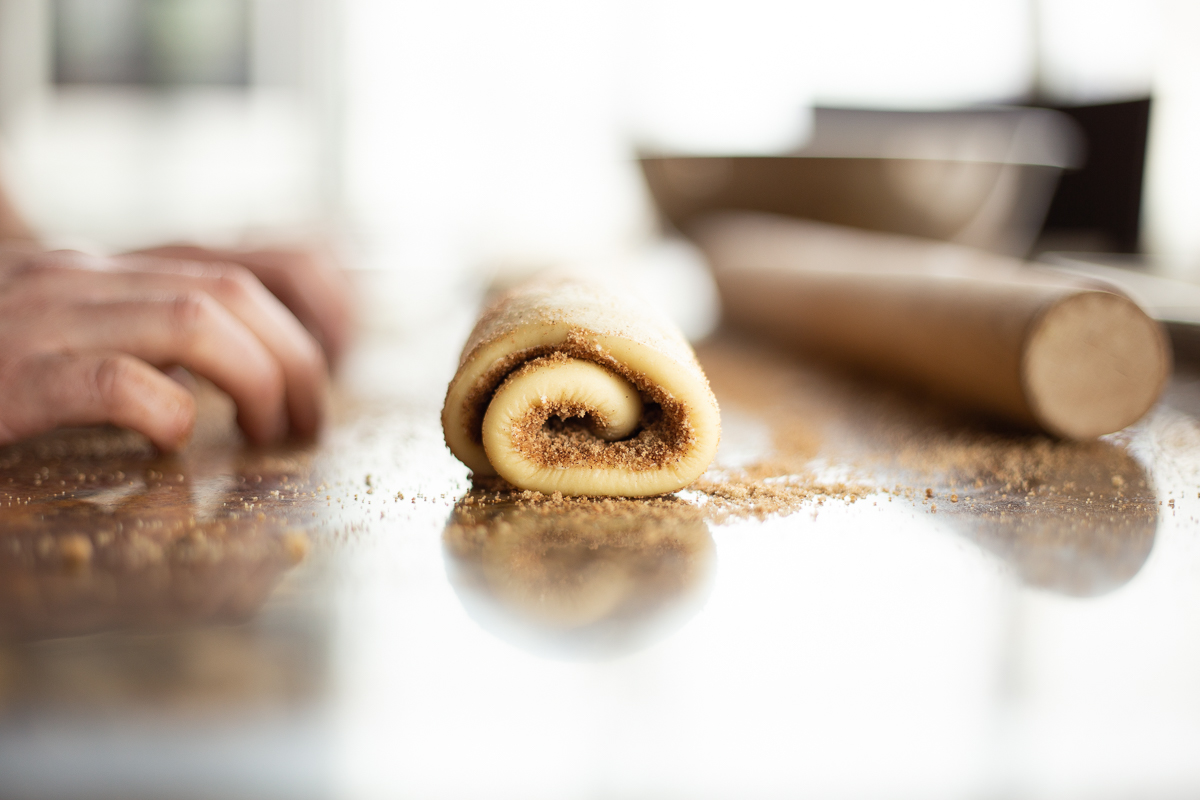
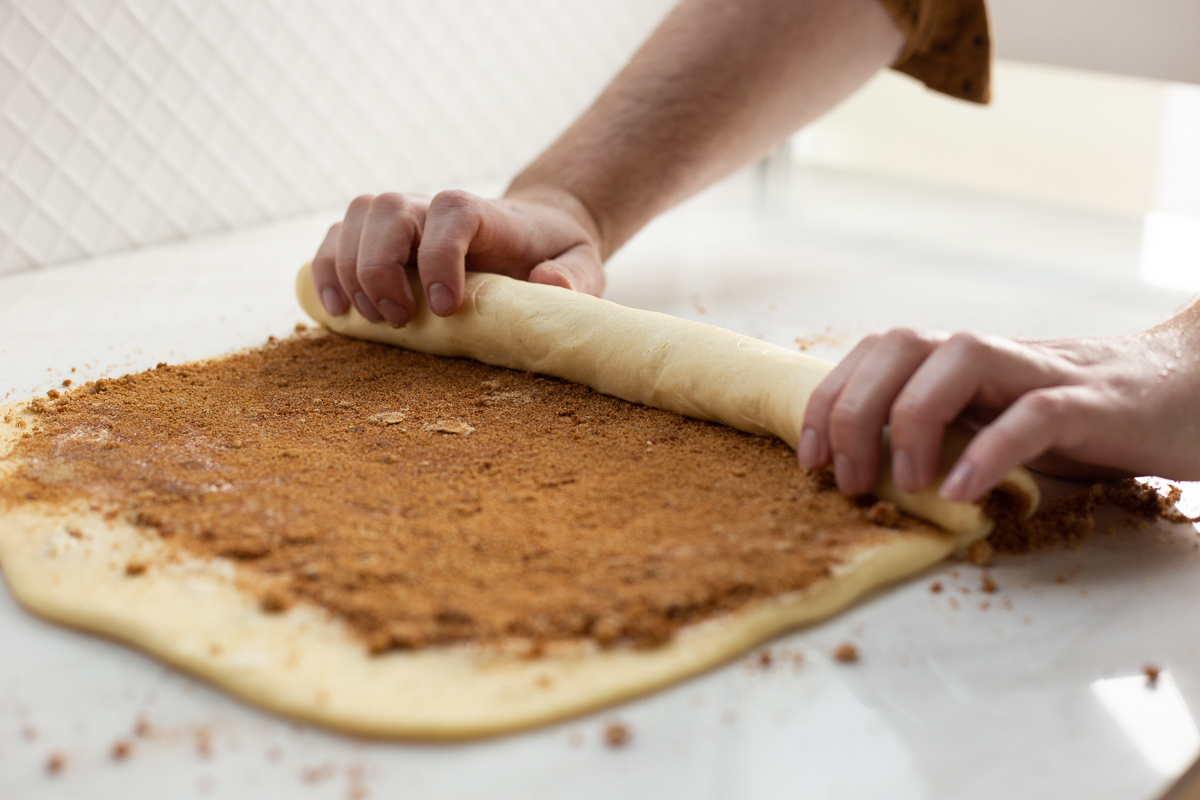
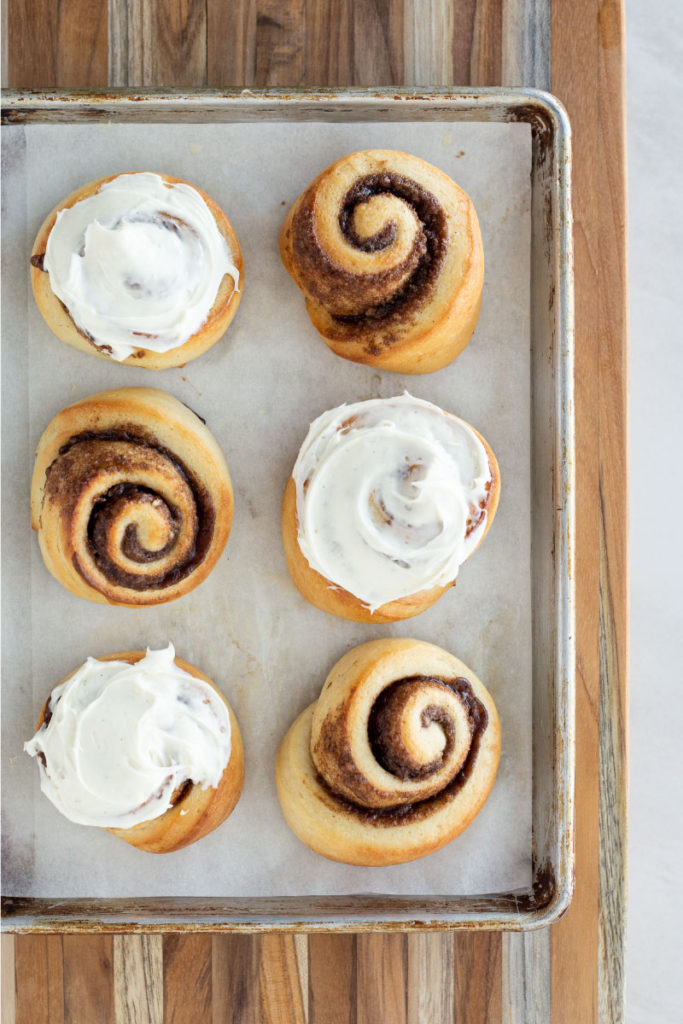
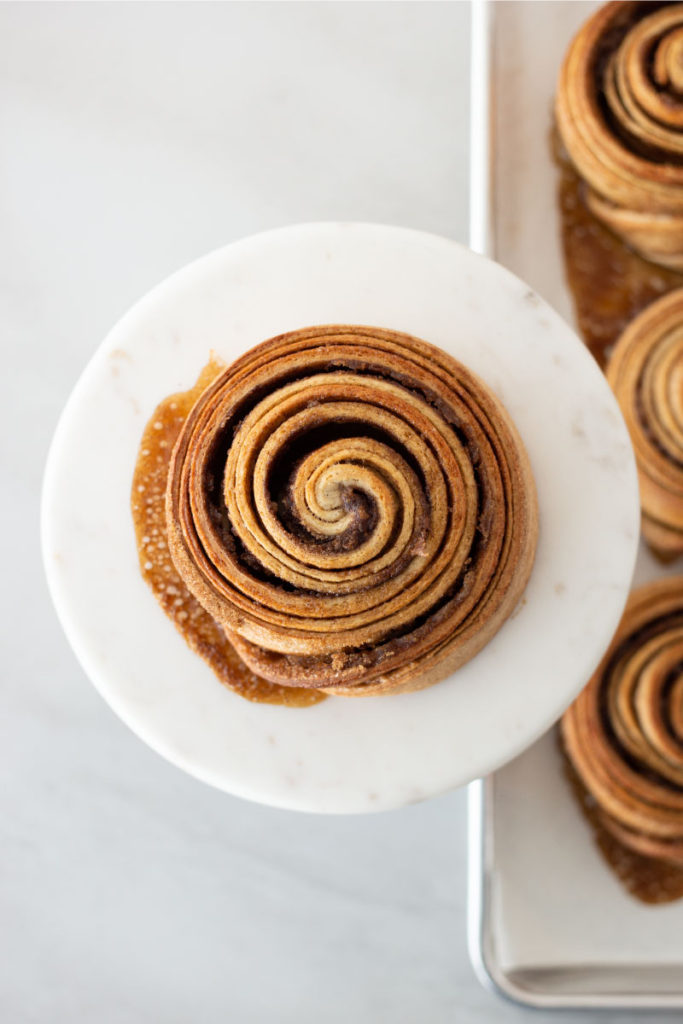
The traditional way to roll a cinnamon roll is to add your butter/filling and roll from the long side up, creating a larger snake of dough. This makes a couple of beautiful swirls and extends the number of rolls you can get out of your recipe. Many more recent recipes are calling for just the opposite. Rolling the dough up from the short side to get the maximum number of spirals creates a picture-perfect cinnamon roll with lots of layers to fill with frosting. Yes, you get fewer rolls this way, but you can also achieve larger rolls. This is such a great way to experiment with your own recipe. Try a different rolling technique and see what you like better!

Wanna get the perfect slice every time? After you roll your log of dough, pop it onto a sheet tray and transfer it to the freezer for about 10 minutes. This allows the butter to set and dough to relax. Take the log out of the fridge and cut using a serrated knife. Long, even motions with your knife will produce a perfect shape every time. The floss technique works well, too but make sure the dough is very cold to get a clean slice. Sometimes the floss can make the dough bunch up in a funky way. We want to ensure an even slice!
Baking Pan
Let’s talk about baking vessels as part of our guide to cinnamon rolls! Another potential controversy in the cinnamon roll world is on which pan to use. Tall sides or short, big or small, maybe even a muffin tin? We think every option has its place but let’s talk about some of each one’s benefits!
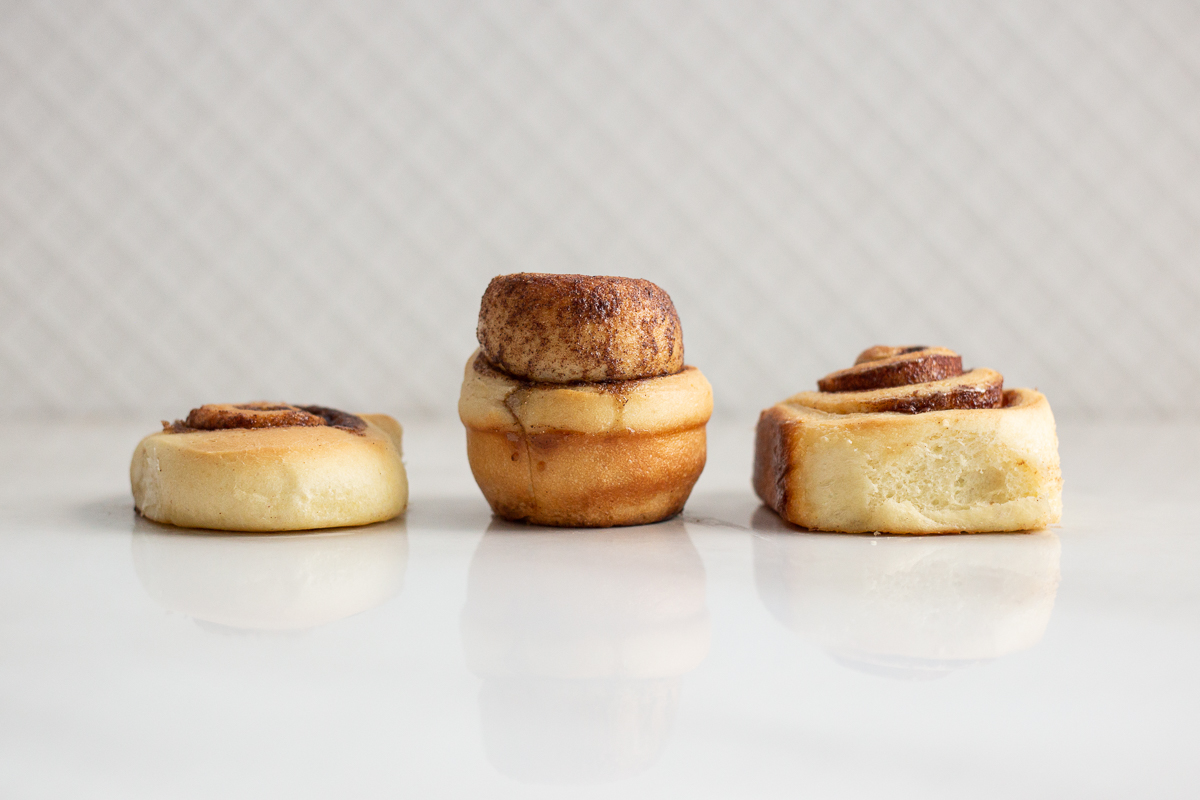
Do you like to use a 9×13 pan or a half sheet bun tray (also known as a cookie sheet)? Cinnamon rolls are often referred to as a “tray bake.” The rolls prove together and bake to form one giant cinnamon roll that is perfect for cutting or pulling apart. This is a classic style and gives lots of area for each roll to have its own pillowy soft center. One thing to remember: Make sure the pan you use has enough room for the rolls to grow. During the 2nd rise and the baking, the rolls will double or triple in size. The rolls should have 1-2 inches of space around them to grow out, instead of just up. Not enough room, and the rolls can spill out the top of the pan and create more of a cinnamon roll cone/tower instead of a flatter pillow shape.
On the other hand, when we want each roll to live on its own (think shopping mall cinnamon rolls), we look to the half sheet pan. These rolls are more separate entities. The rolls will cook evenly all around, leaving a golden exterior and a soft interior texture. Either way is excellent, and you should definitely give both of them a try.
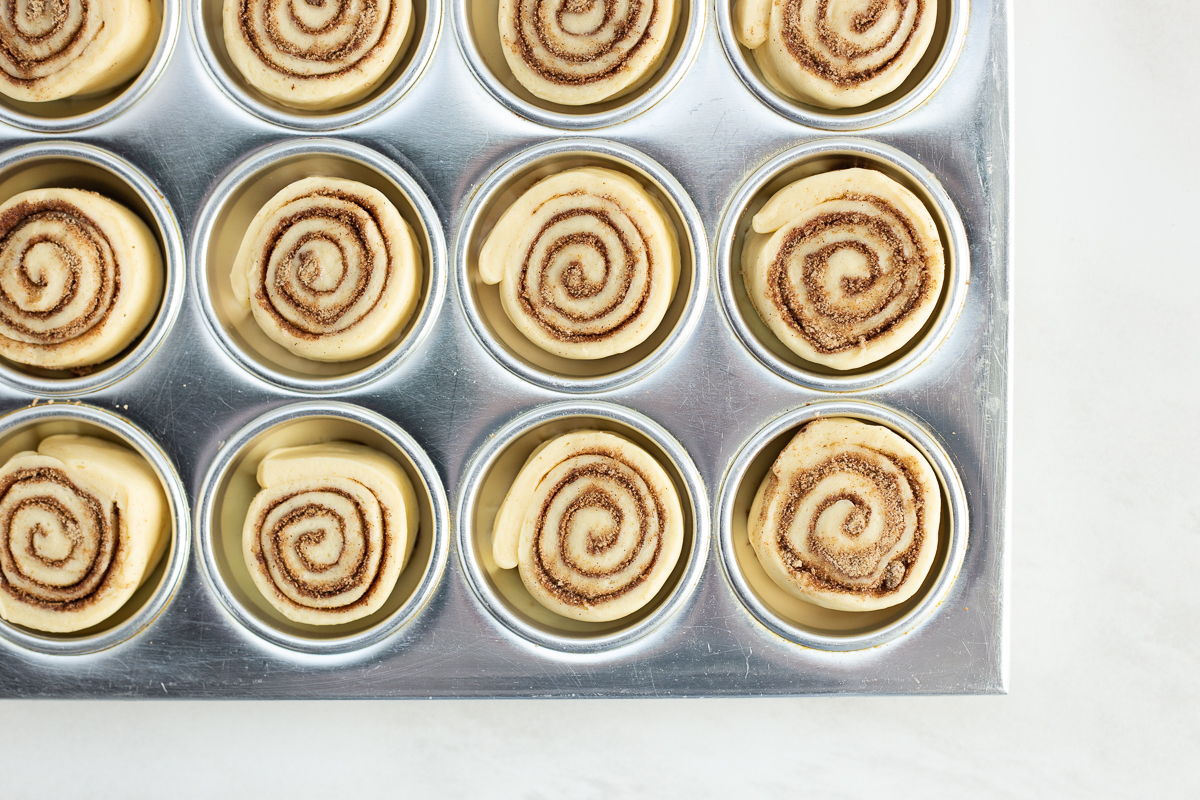
How about a muffin tin? For individual bun style cinnamon rolls, this is the way to go. No need to worry about fitting rolls into a pan or making sure there is enough room. Pop each sliced roll into its own muffin cup and cover with plastic wrap. Think about making the rolls slightly thinner than you usually would so you get a nice shape after the baking and rise. We had some issues with our rolls getting so big that they became monster cinnamon buns, so err on the smaller side.
Baking Methods
After all that time spent creating the perfect dough, filling and shaping, and proofing precisely as needed, we don’t want the baking to end up being a mystery. Taking the guesswork out of the dough “doneness” is one of the last essential steps in the cinnamon roll baking process.
The biggest thing to prevent this guesswork is to invest in an instant-read thermometer. Gone are the days of only professional chefs using thermometers for every kitchen task. Every kitchen, home or otherwise, should be equipped with an excellent digital instant-read thermometer. Many are relatively inexpensive and accurate enough to check the temperature of anything from meat to candy to bread!
How can we utilize this to check if our rolls are done? The enriched dough is usually baked at a lower temperature than regular lean dough. Lean dough like sourdough might be baked at 400 or 424, while enriched doughs need lower temperatures, usually 350-375. Those enriching ingredients (butter, sugar, eggs) tend to burn much faster, creating a dark crust but doughy interior. That being said, we are looking for an internal temperature of our enriched dough to be between 190 and 200 F. These lower temperatures (lean dough is usually between 200 and 210) keep the interior soft and pillowy. Experts say to remove your rolls about 3-5 degrees before you want them to be done, as carryover cooking will occur in the hot pan. If you like a doughier roll, remove the rolls around 188-192 and a more firm roll around 194-199. Don’t let your baking times ruin all your hard work! Invest in an instant-read thermometer and get perfect results every time.
Frosting
One of our final controversies of this guide to cinnamon rolls is the question of Frosting vs. Icing. Both are obvious additions, but there can be many variations. Many bakers find this a time to play with their recipes. Adding flavors and textures through a topping is an easy way to stray from your time-tested recipe without feeling overwhelmed about the unknown outcome.
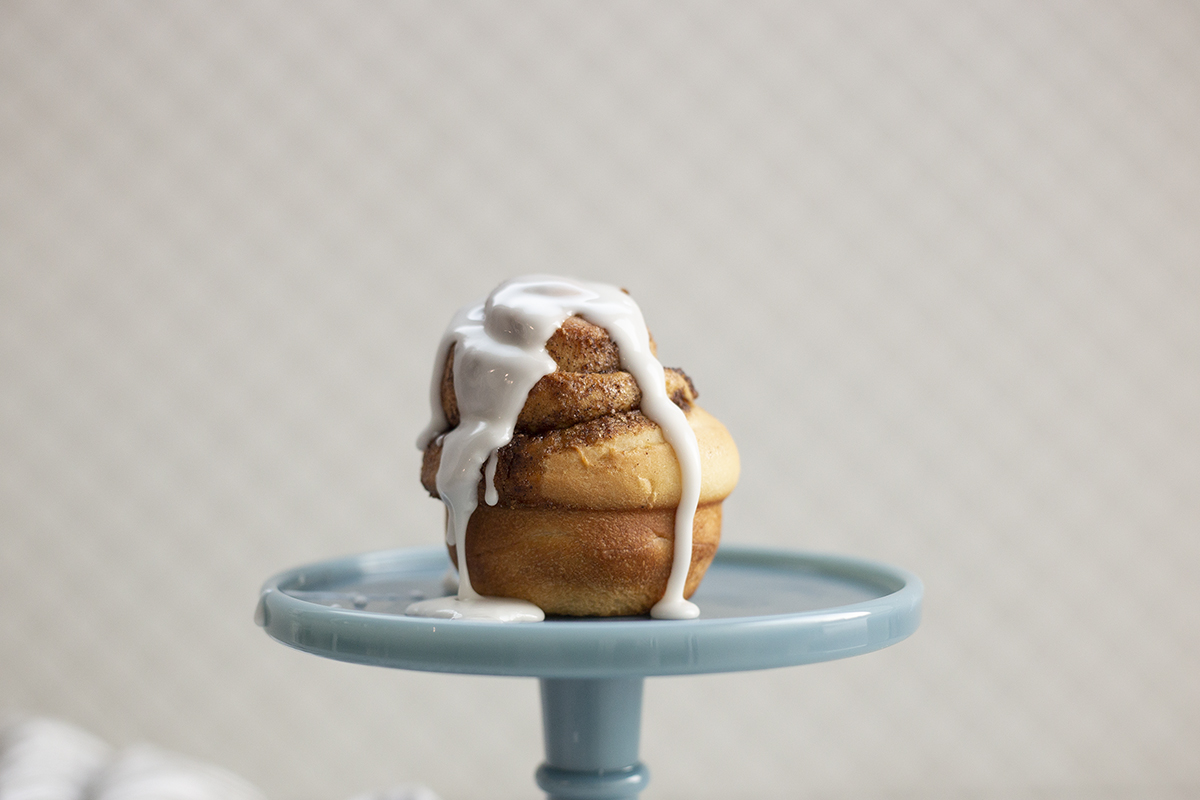
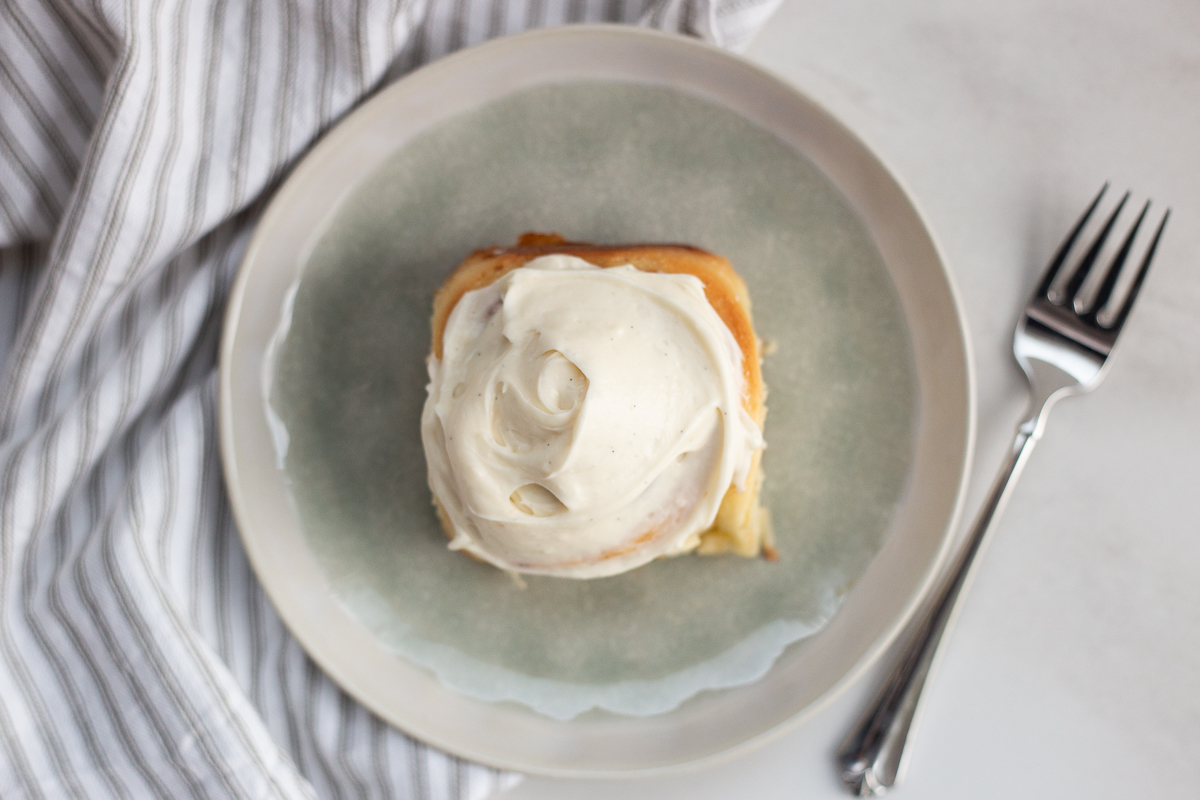
According to Martha Stewart (the baking goddess herself), “In broad terms, frosting is thick and fluffy, and is used to coat the outside (and often the inner layers) of a cake. Icing is thinner and glossier than frosting, and can be used as a glaze or for detailed decorating.” We like a traditional cream cheese frosting that provides a balance to the sweet roll, giving a little bit of tanginess along with the luscious sweetness. Icing is great too, though, because it can sometimes be a light drizzle with a stunning finish. Again, both frosting and icing have their place so give both a try.
If you want to elevate flavors and textures in your topping, try adding some things to your icing. Want to go in the fruit direction? Add orange or lemon zest to your icing for a citrusy take on your cinnamon roll. Think about adding some ground, toasted almonds or pistachios to the cream cheese icing for a nice crunch. You can also play around with traditional vanilla extract in either icing or frosting. Instead of that classic vanilla flavor, try adding almond extract, rose extract, or even peppermint for the holidays. Changing up something like frosting or icing is a simple way to elevate your classic recipe in a way that even grandma would approve of!
Freezing
To freeze before baking: the dough should be frozen after the first rise (once rolled up with the filling and cut). Place into a pan and cover well, then place in the freezer. When you are ready to bake, let the dough thaw in the fridge — preferably overnight, then put in a warm spot for 30 minutes to 1 hour before baking to activate the second rise. Bake cinnamon rolls as directed.
To freeze after baking: allow the cinnamon rolls to come to room temperature after baking, then you can choose to either freeze the entire pan, making sure they are well wrapped or covered in an airtight container, or you can choose to freeze individual cinnamon rolls. When ready to eat, defrost the cinnamon rolls at room temperature, then warm in the oven at 350 degrees F for 10-15 minutes, or you can warm them up individually in the microwave for 20-30 seconds (once defrosted). We prefer to freeze them before they are iced and then frost them when ready to eat.
Need a classic recipe to get started? Here are two we love:
The BEST Cinnamon Rolls from Ambitious Kitchen
Cinnamon Rolls from Lo’s Kitchen
Looking for some elevated variations, give these a try:
What did you think of this guide to cinnamon rolls? Did you learn some new tricks to help you with your next batch? We’d love to learn about it. Comment here, or join the conversation over on Instagram.


No Comments