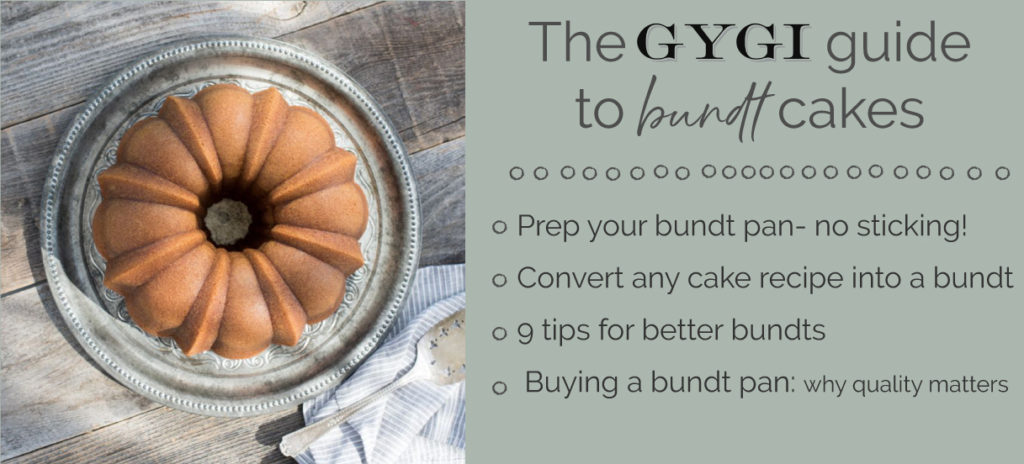
Bundt cakes are magically delicious. And even more magically beautiful. If you’re looking to perfect your bundt baking abilities, read these seven tips for a better bundt.
1 – USE THE RIGHT PAN
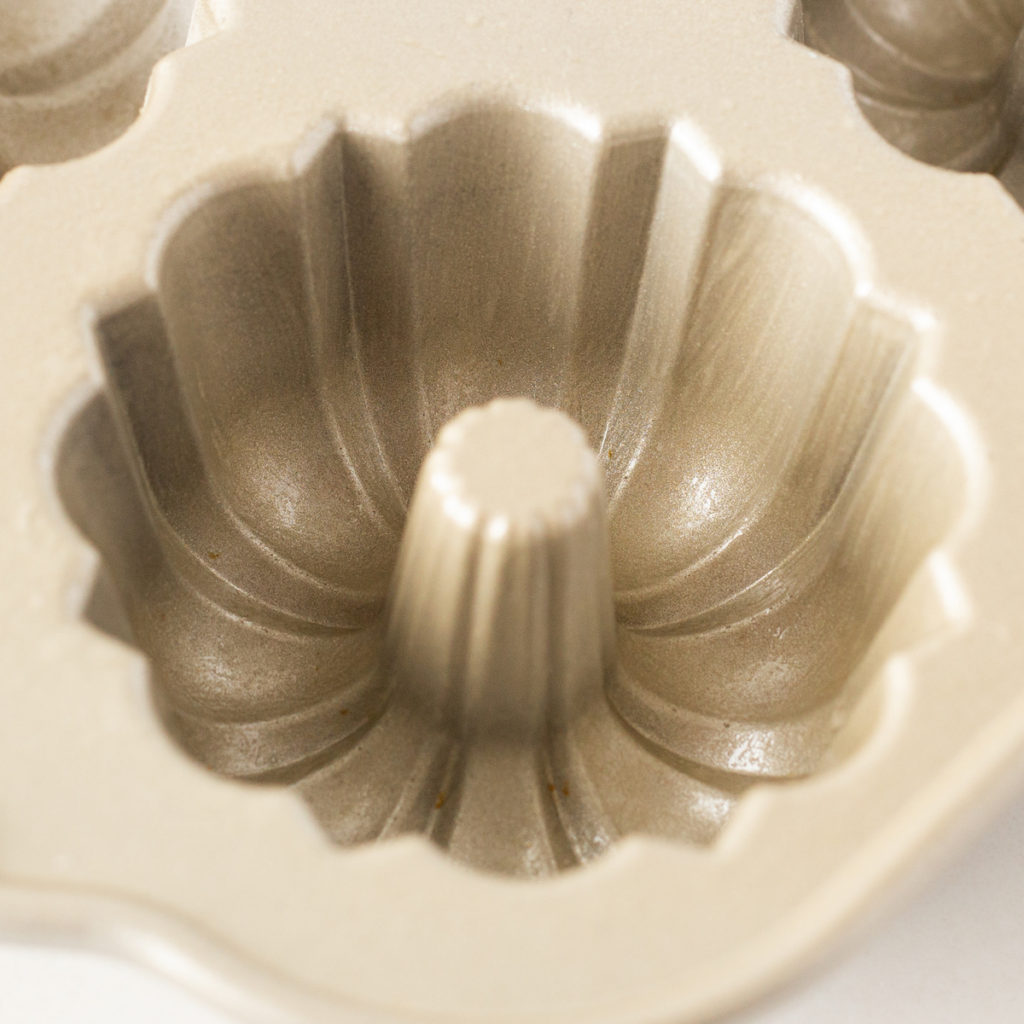
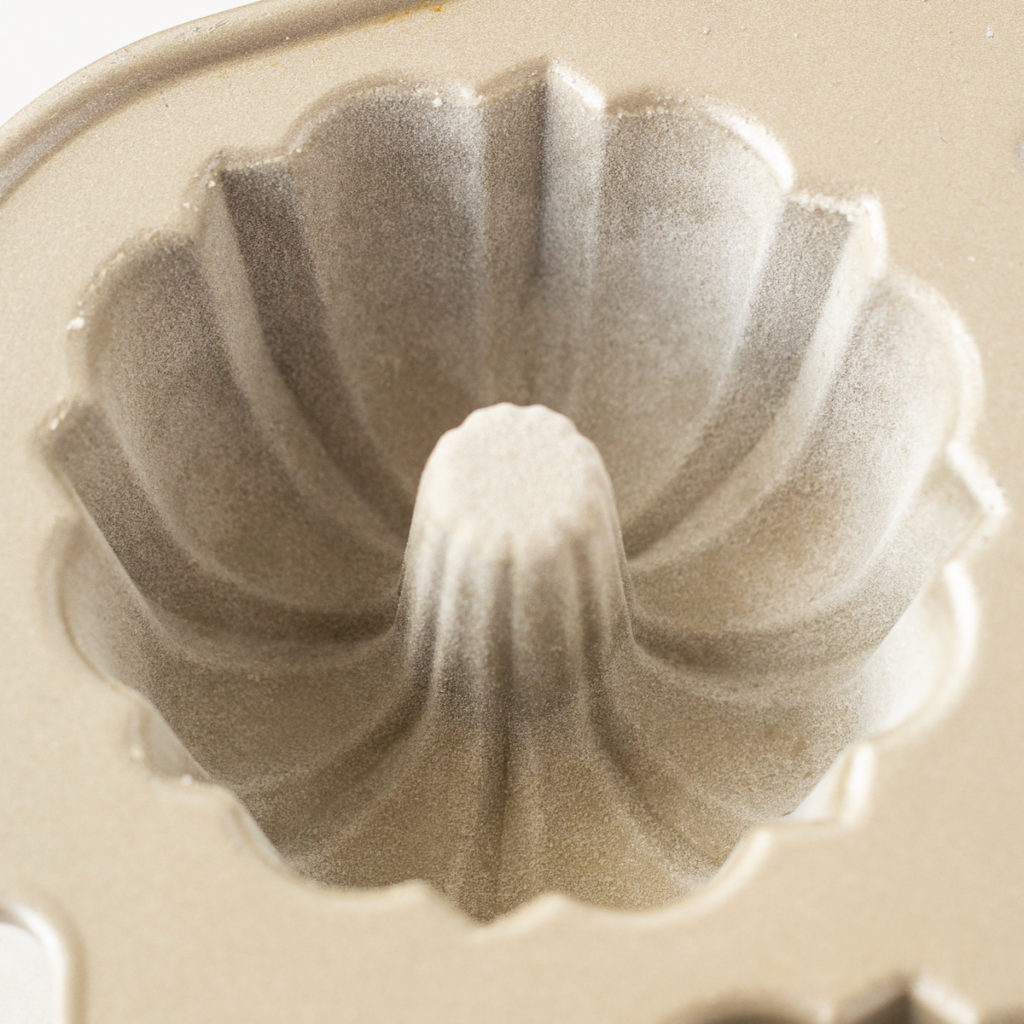
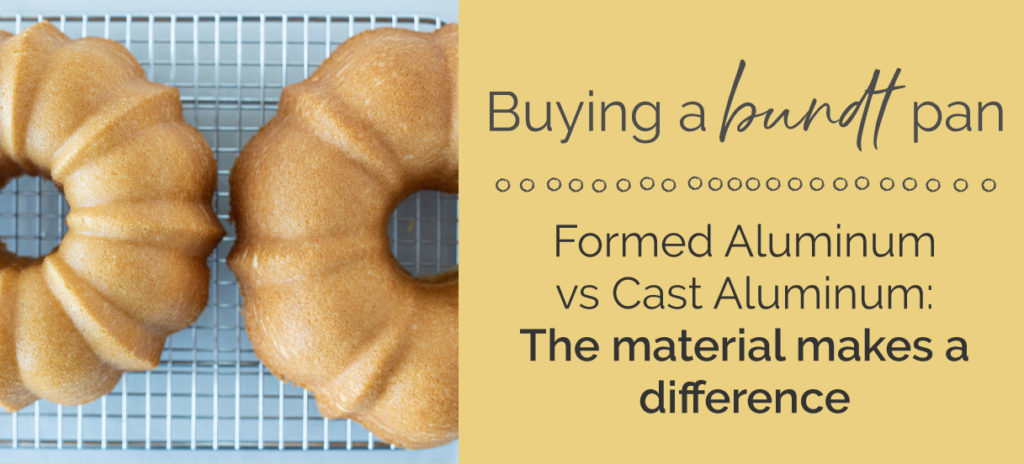
A high-quality bundt pan is the foundation of a good bundt cake. We prefer using cast aluminum bundt pans. The thick, heavy-duty metal is good for a few reasons:
- The cast aluminum heats slowly and evenly. This protects the edge of the cake from over-browning during its long bake time.
- The cast aluminum also helps the cake to bake slowly, preventing an exaggerated dome on the top of the cake.
- This pan is made to last. It will be passed through the generations if it is well loved and cared for (hand wash! no sharp utensils!).
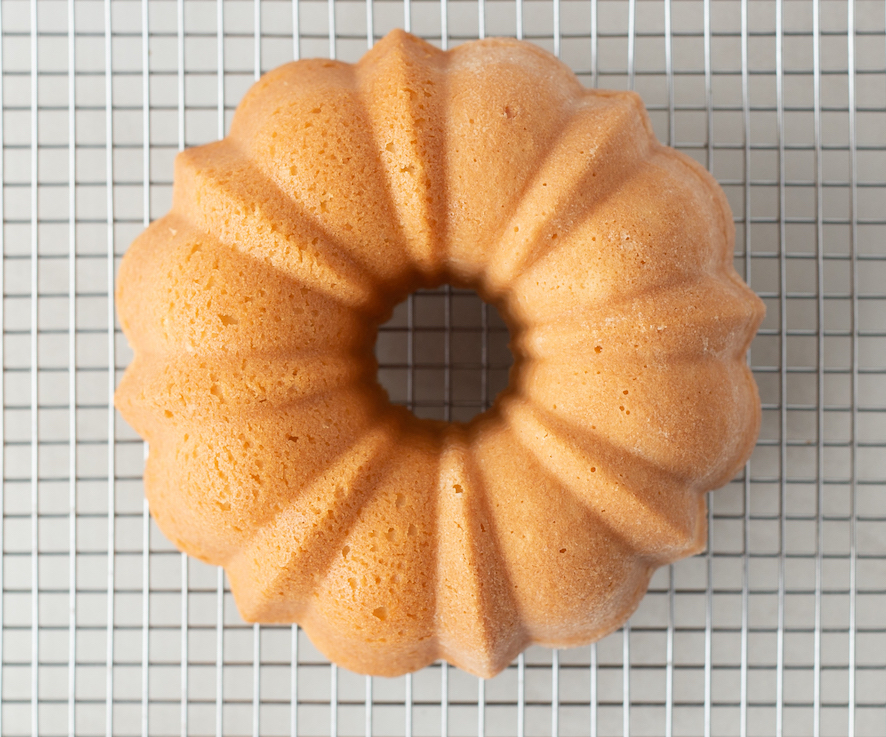
- Cast aluminum allows for defined details and crisp ridges on the cake. This is necessary for beautifully detailed cakes.

Notice the difference in the cake baked in a cast-aluminum pan vs. a cake baked in a formed aluminum pan. In the end, they are both lovely. And delicious. But we always recommend a cast aluminum pan, if you’re looking to perfect your bundt baking. This is the essential tip for a better bundt.

In addition to a high-quality pan, you’ll need to make sure your pan is in great shape. Bundt pans are coated with a non-stick finish to aid in the release of the cake. If this coating is scratched, then your cake is much more likely to stick in your pan.
If you find yourself baking in a scratched pan, you’ll definitely want to flour your pan (more on that below). When you’re ready to step up your bundt baking game, shop our selection of bundt pans here.
2 – JUST RIGHT, NOT TOO MUCH
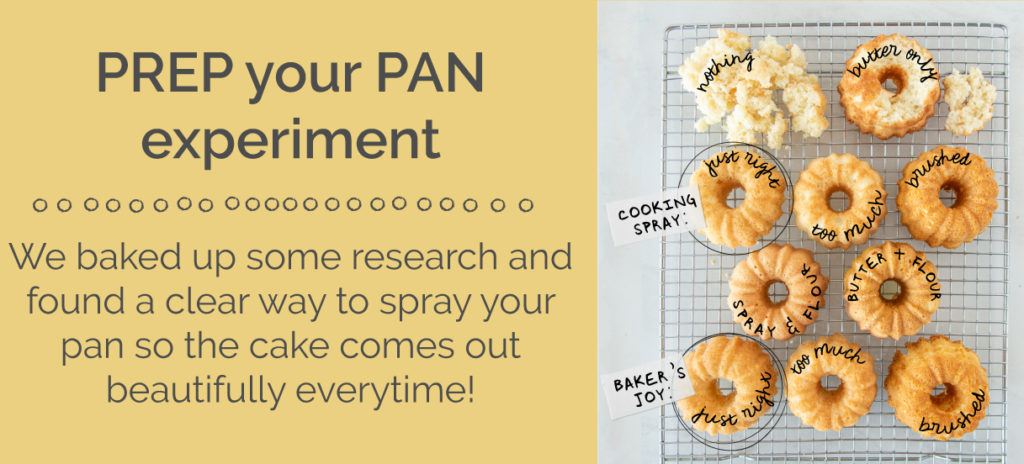
We love using Baker’s Joy to prep cake pans. It’s a mixture of cooking spray + flour. Read more here.
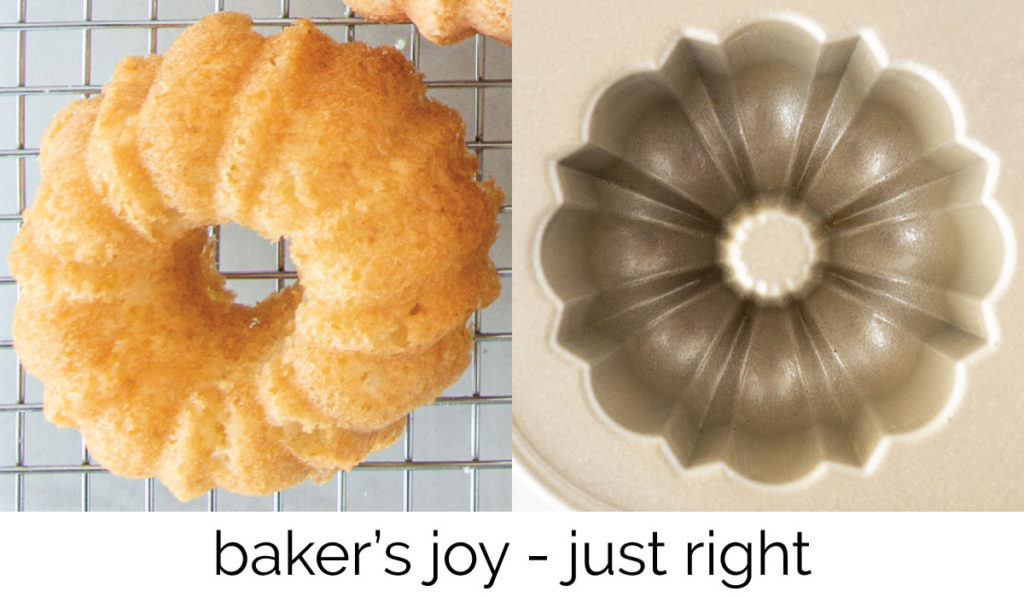
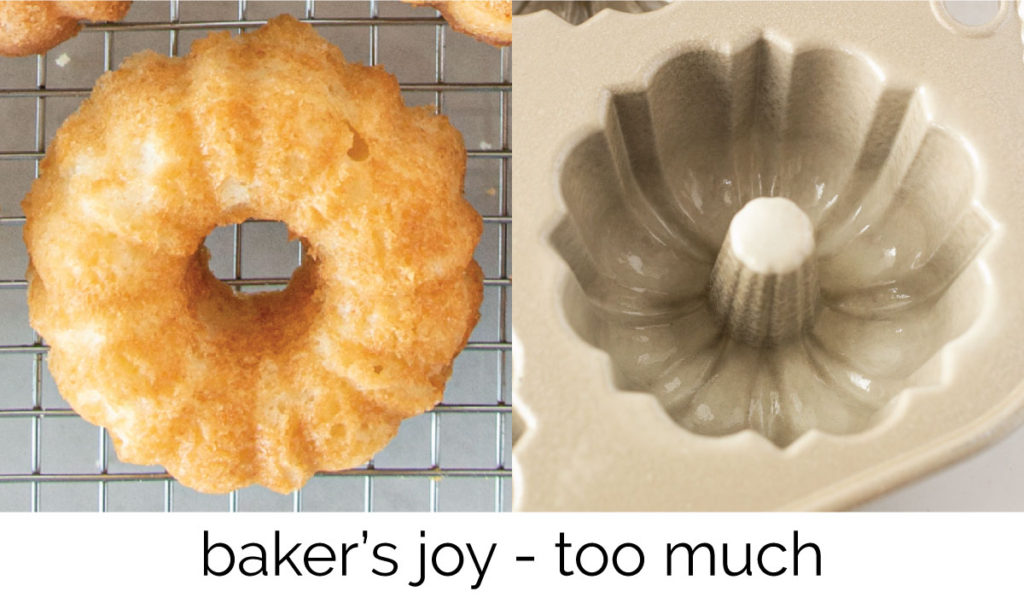
But, don’t overdo it! Too much spray and you’ll have little bubbles on the surface of the cake. The excess oil pools in the cavities of the bundt pan and you’ll see them on the finished cake. Don’t be scared – the next tip will help prevent this, too.
3 – BRUSH THE SPRAY
An even coating of Baker’s Joy is the goal. This can be tricky to achieve with a spray that sputters out of the can. So, spread the spray around with a pastry brush. This will prevent the oil from pooling and ensure a beautiful and uniform surface.
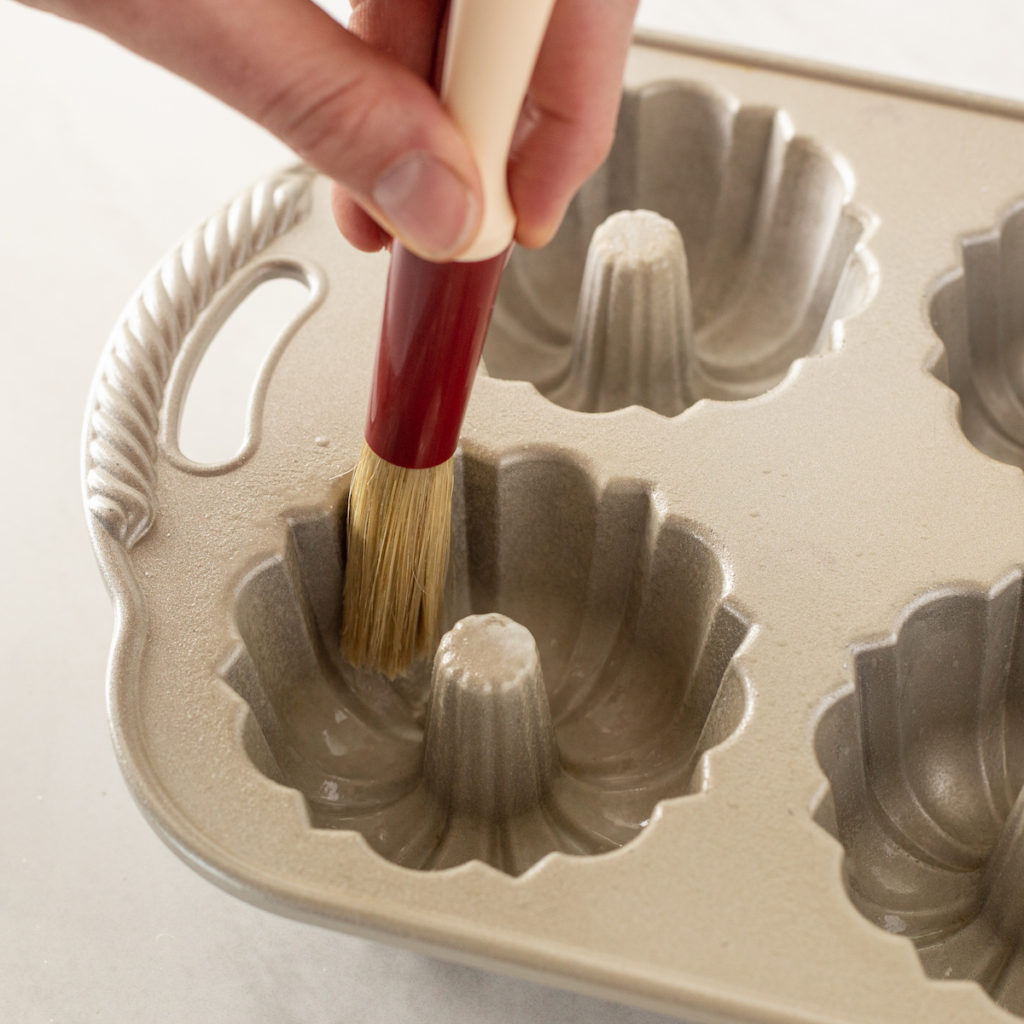
When creating this post, tips for a better bundt, we found the most uniform results with a natural bristle pastry brush, but a silicone brush worked okay, too. If you need a new brush, check out our selection here.
4 – DON’T FORGET THE CENTER
Do not neglect the center of the bundt pan. Your cake will stick if you do not spray & brush the center cone. It’s a simple step, but it is worth mentioning! If you’ve ever forgotten, you know the agonizing pain of your cake clinging to the middle. It’s devastating.
5 – FLOUR, IF YOU WANT
We found consistent results preparing the pan with Baker’s Joy, but you may want to add a dusting of flour in a few situations. We found flour beneficial:
- for cake pans that are scratched or pans that don’t have a nonstick coating
- for detailed and intricate pans that have a history of sticking
- for recipes that include sticky ingredients like fresh fruit, dried fruit, or chocolate chips
You may also want to flour your cake pan simply because you like the look of the cake. We baked this bundt recipe and prepared half the cake pan with Baker’s Joy (left) and the other half with Baker’s Joy + flour (right).
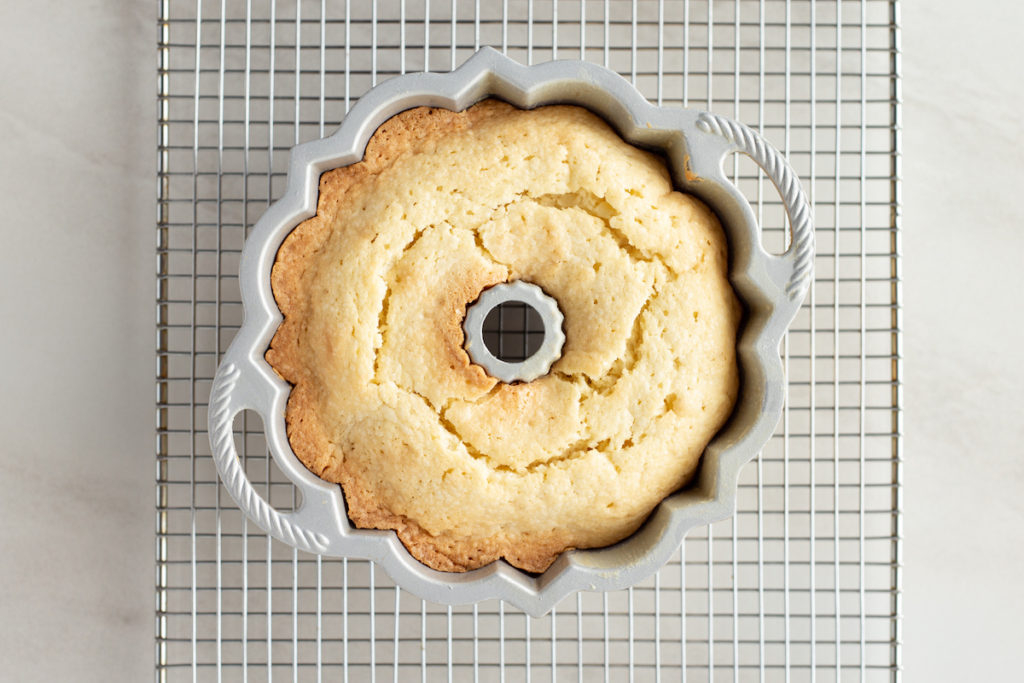
The left half of the cake (without the flour) was able to rise evenly, so the edge of the cake was near the same level as the top of the cake. The right half of the cake (with flour) did not rise as evenly. The edge of the cake didn’t rise much, so the top of the cake was much higher.
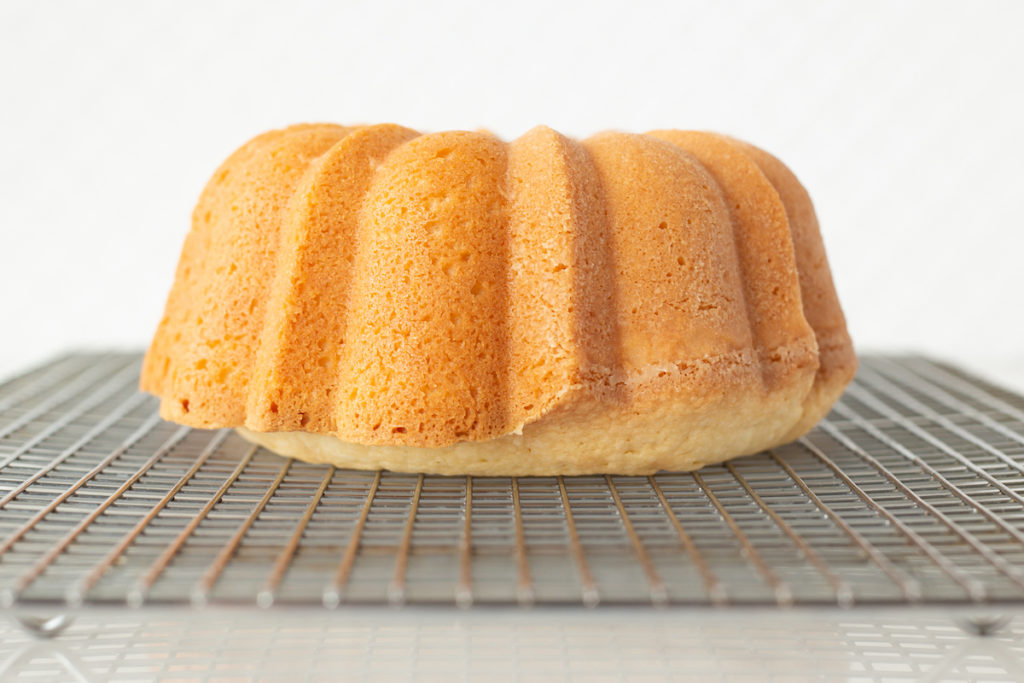
The finish of the cake is slightly different, too. The half with flour has a matte appearance as the flour is still apparent on the crust of the cake. The half without flour is crisper and clean-looking.
As far as taste and texture go, both sides of the cake were wonderful and delicious. The flour did not affect the eating experience. So, you get to decide if you like flour or no flour!
6 – PREP JUST BEFORE FILLING
Many recipes include pan preparations in the first step of the baking directions. We advise you to wait until the batter is ready to go in.
When you spray or grease a pan, this liquid fat has a tendency to drop to the bottom of the pan, creating pools in the cracks and crevices. When the cake bakes, you’re left with little pockets of oil which appear as little pockmarks on the surface of the cake.
In order to prevent this, prep the pan just before baking. The oil won’t have time to drop to the bottom and you’ll find yourself with a beautiful cake.
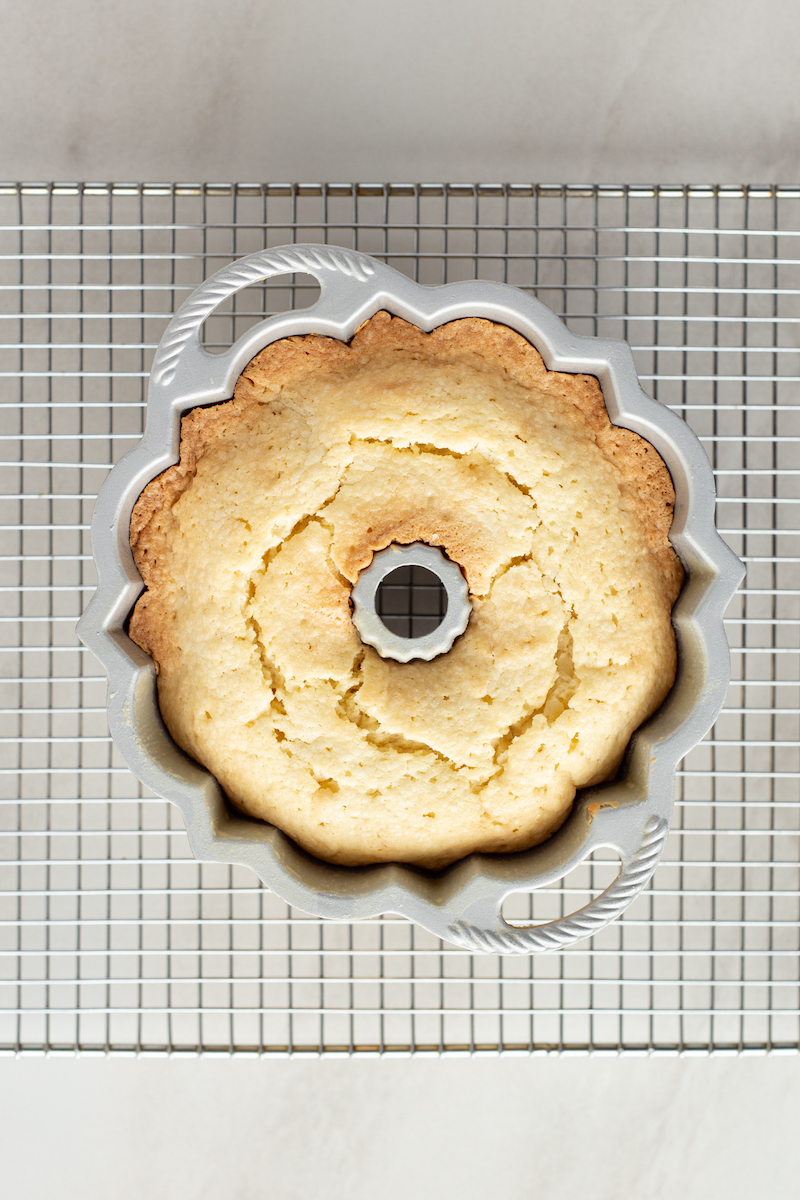
7 – LET IT REST
The final step in our tips for a better bundt is to let your cake rest before trying to remove it from the pan. At least 10 minutes, but if the recipe indicates a time frame, follow those instructions.
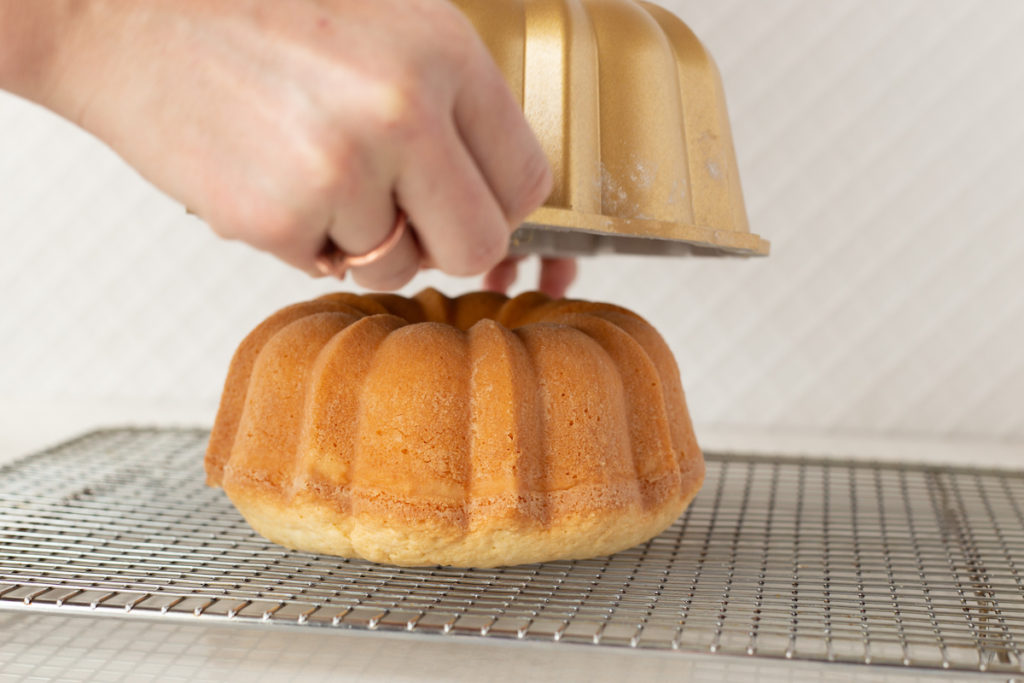
This rest time allows the cake to set up a bit before it’s removed. If the cake is moved too soon, it is too fragile and may fall apart. So, let it rest!
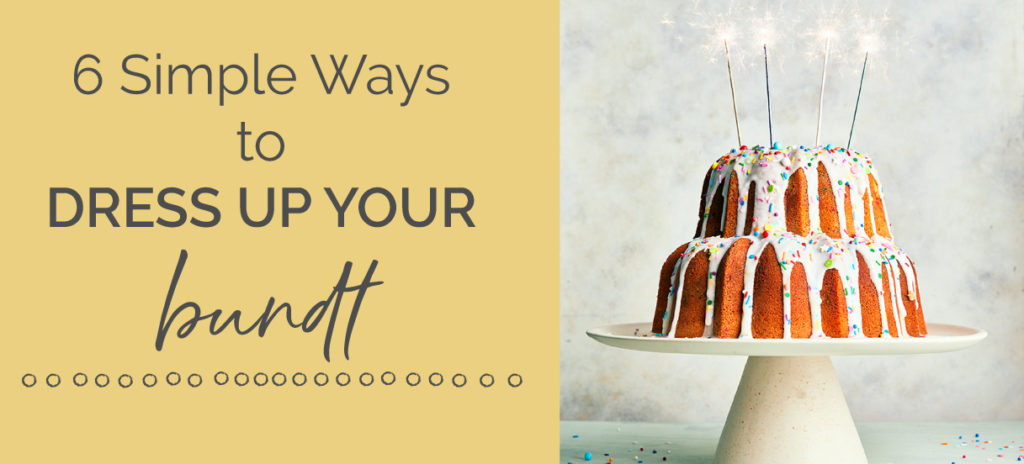
Looking for more bundt pan fun? Click one of the links below.
No Comments