There is nothing worse than a bundt cake stuck in the pan. We tested allll the pan prep methods – determining which methods work and which ones are sure to end in disappointment. We typed up all our findings right here in one place so you know exactly what to do next time you’re preparing a bundt pan.
We started by mixing up a batch of this delicious Butter Vanilla Bundt Cake and baked it into mini bundts prepared in a variety of ways. In the end, we found a couple options that will produce easy-to-release bundt cakes. This means you get to decide which look and finish you like best!
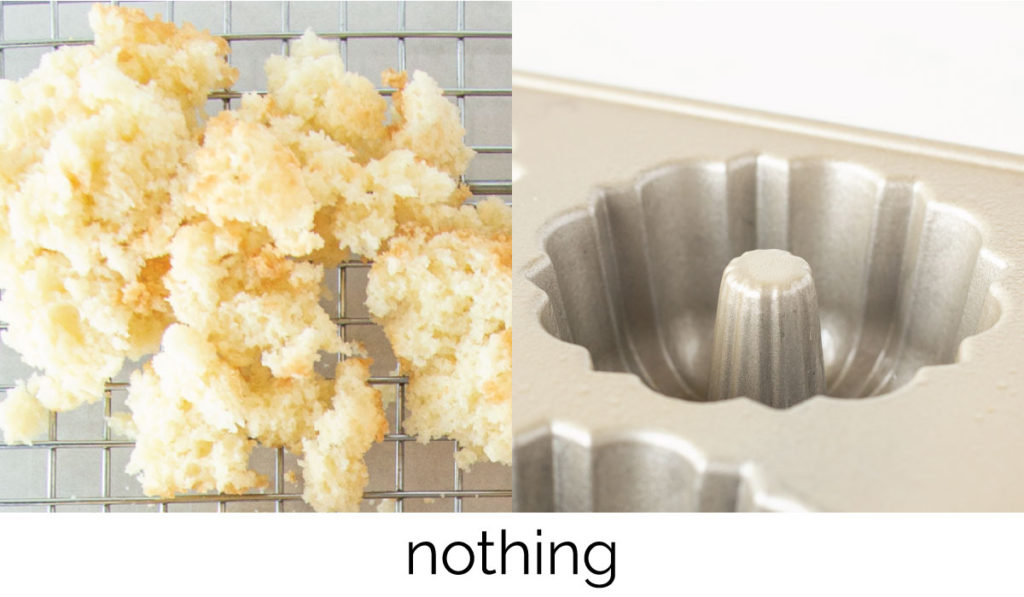
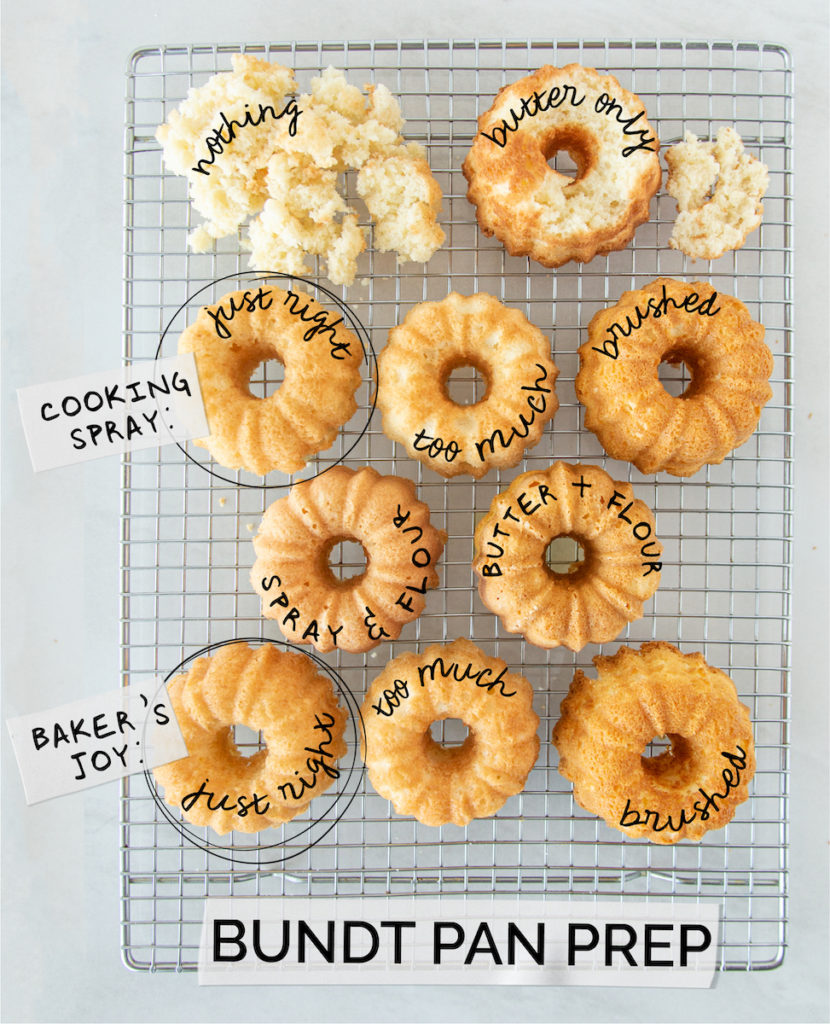
For this method, we poured batter directly into a clean mini bundt cavity. No preparing. No greasing. No flouring. Nothing.
We found that no prep results in no bundt cake. If you fail to prep your bundt pan, you’ll fail to remove your cake. We had to pull the cake out in pieces with our fingers in order to remove it from the pan.
The good news? There’s always a trifle.
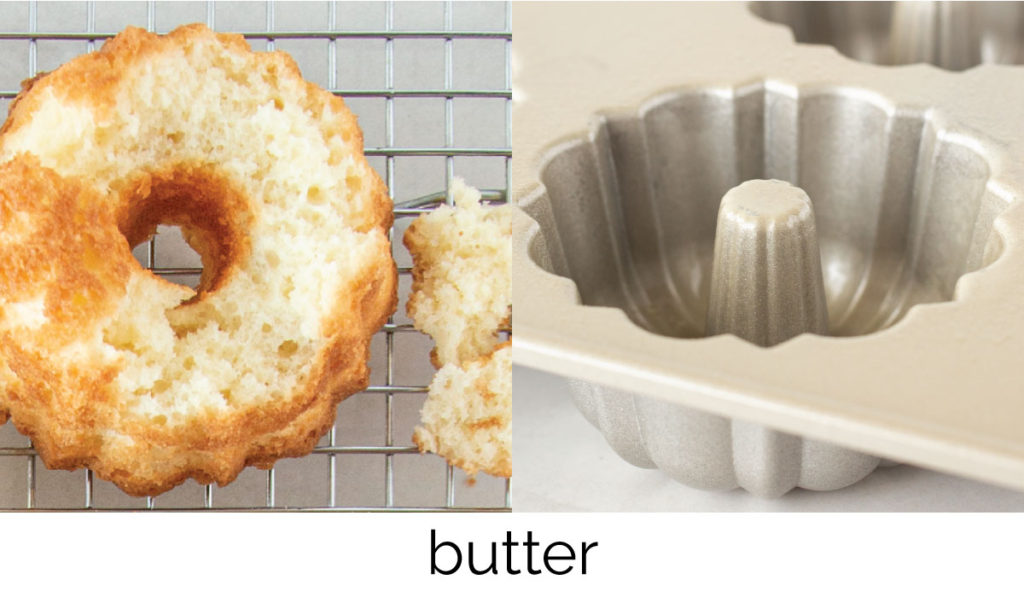
For this method, we spread softened butter evenly on the surface of the mini bundt cavity. When the pan was inverted, part of the cake was released to the cooling rack, leaving a large portion of the cake in the pan. We pulled this chunk out with our fingers.
Buttering the pan proved to be a problematic method. The milk solids adhere to the pan, causing the cake to stick inside the pan. Bummer.

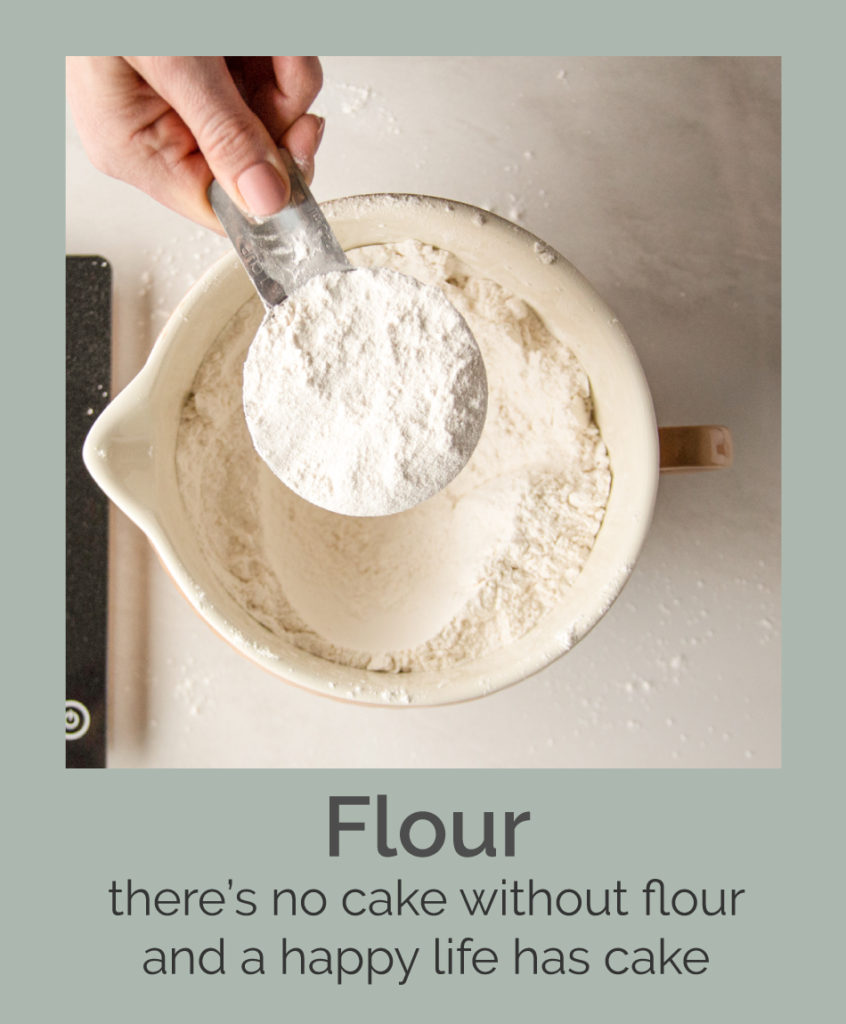
For this method, we brushed softened butter evenly into the cavity of the mini bundt pan. Then we dusted the cavity with flour, shaking and turning the pan until all surfaces were lightly coated with flour. Then the pan was inverted over a garbage can and tapped a few times to remove any excess flour. The pan was ready for cake batter with a thin coating of butter + flour on the surface of the pan.
This method was successful in releasing the cake easily. The dusting of flour prevented the butter from sticking to both the cake and the pan. Not a bad option when preparing a bundt pan.
This method (and any method involving flour) does leave behind a residue on the surface of the cake. The finish is matte and muted, instead of crispy and shiny. It also left more bubbles on the surface than the spray + flour method. But it does work! Preparing a bundt pan with butter + flour is one method for creating a cake that releases easily.

Let’s talk about the cooking spray. For this cake, we lightly sprayed the pan, resulting in an even coating of cooking spray on all surfaces.
The resulting cake was nice! It was removed from the pan easily and had a nice shiny surface. We did find a few bubbles on the surface. We found a way to prevent that with the next method.
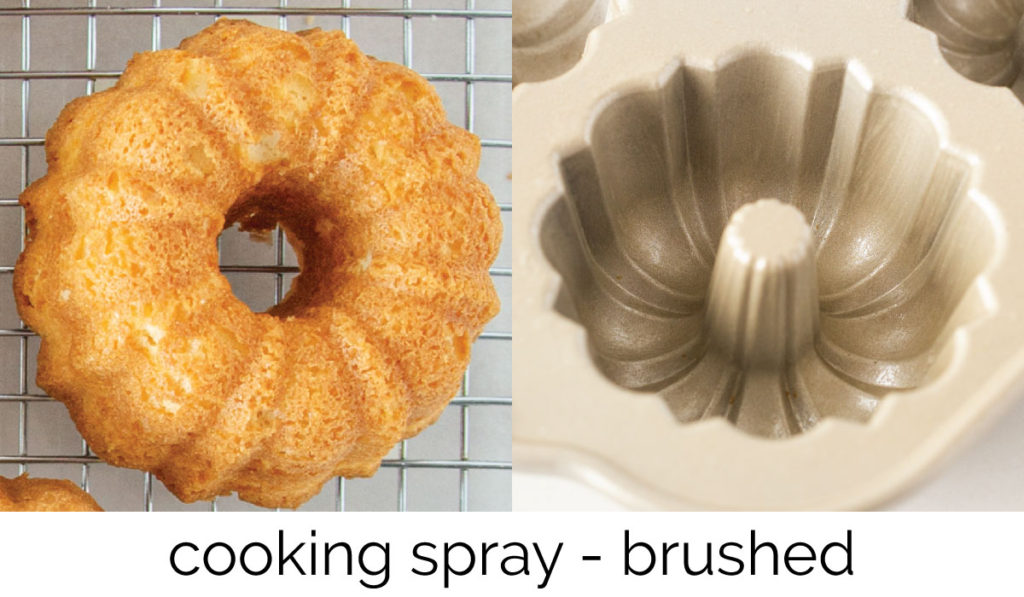
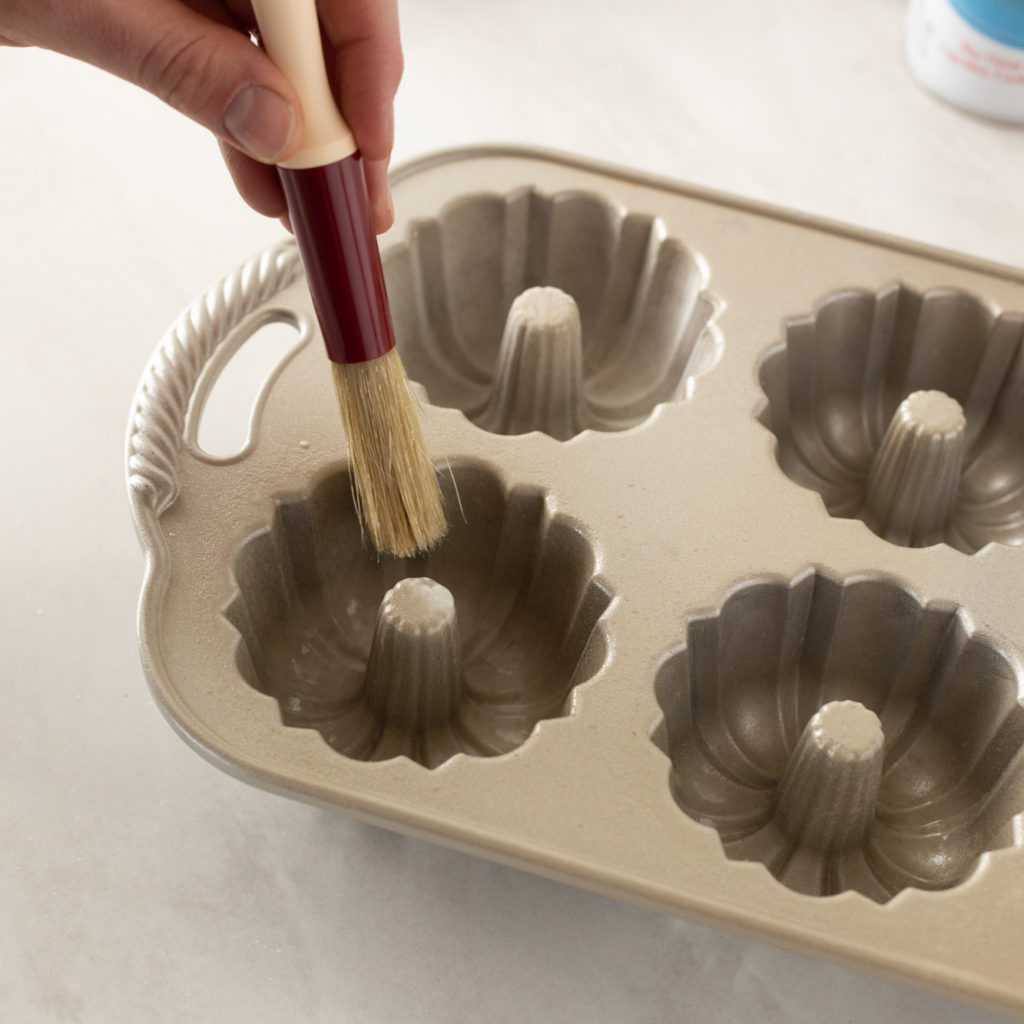
For this method, we sprayed the pan then used a pastry brush to ensure the spray was evenly spread all over the cavity. The resulting cake had a smoother finish, with fewer bubbles than the sprayed bundt pan.
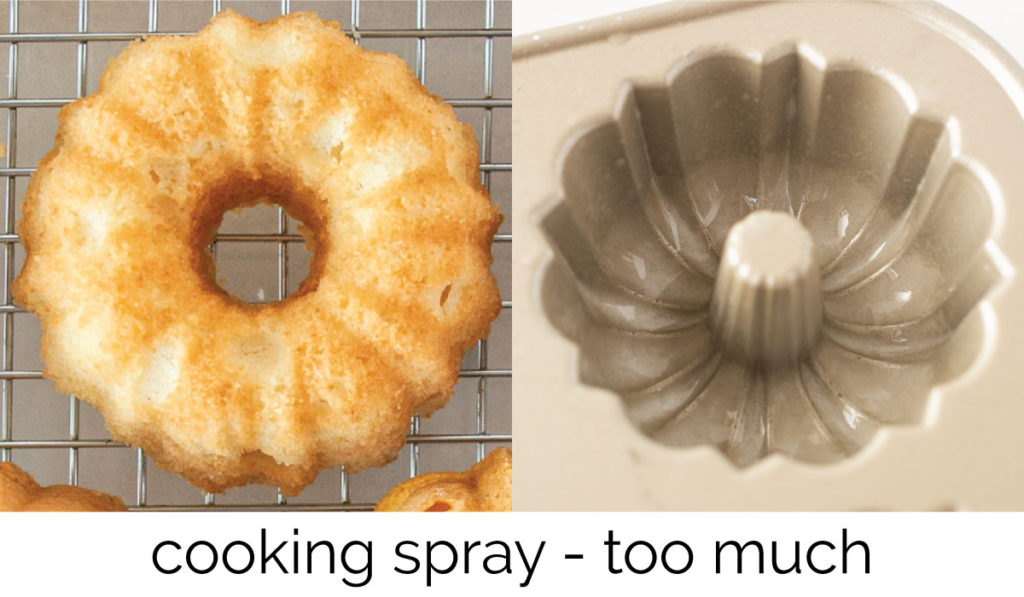
This pan was prepped with an excessive amount of cooking spray. The spray pooled at the bottom of the pan. The resulting cake had large pockets on the surface from the large amounts of oil in the cavities of the pan. Be careful not to overspray the pan.
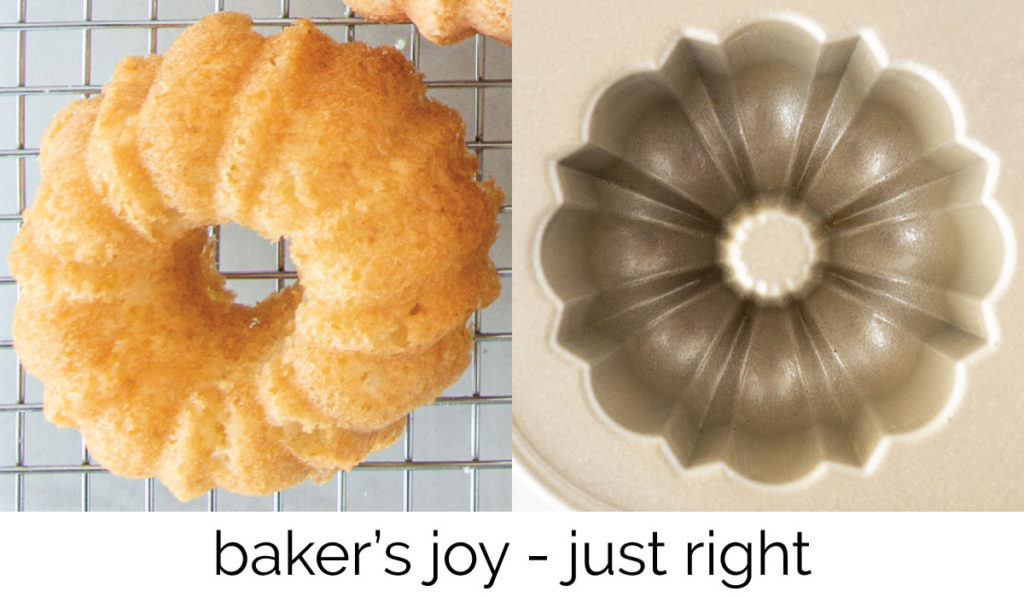
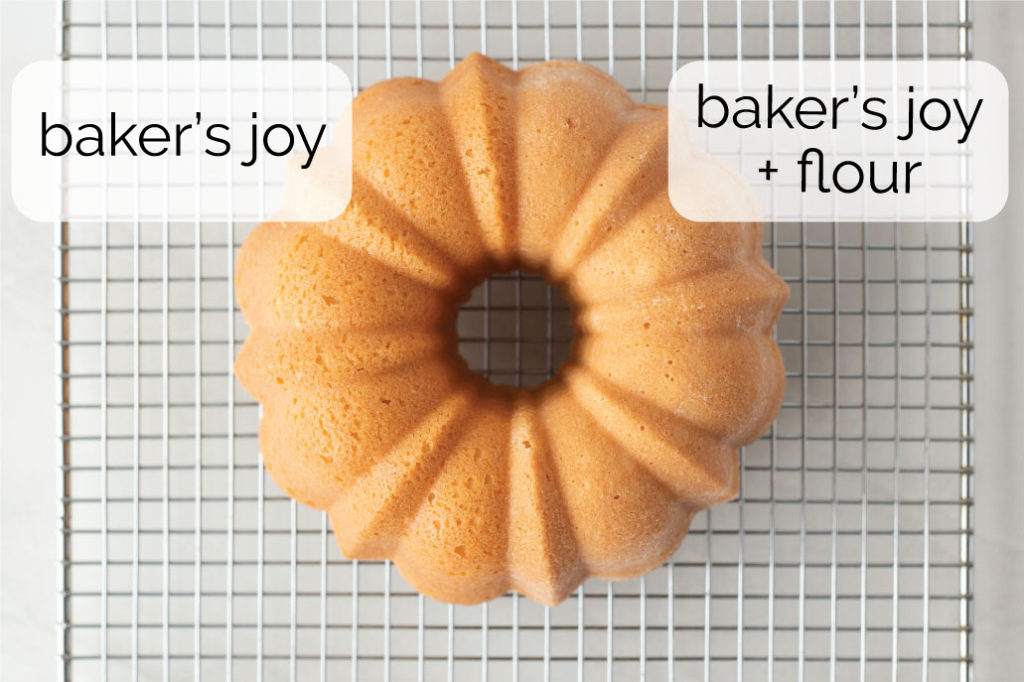
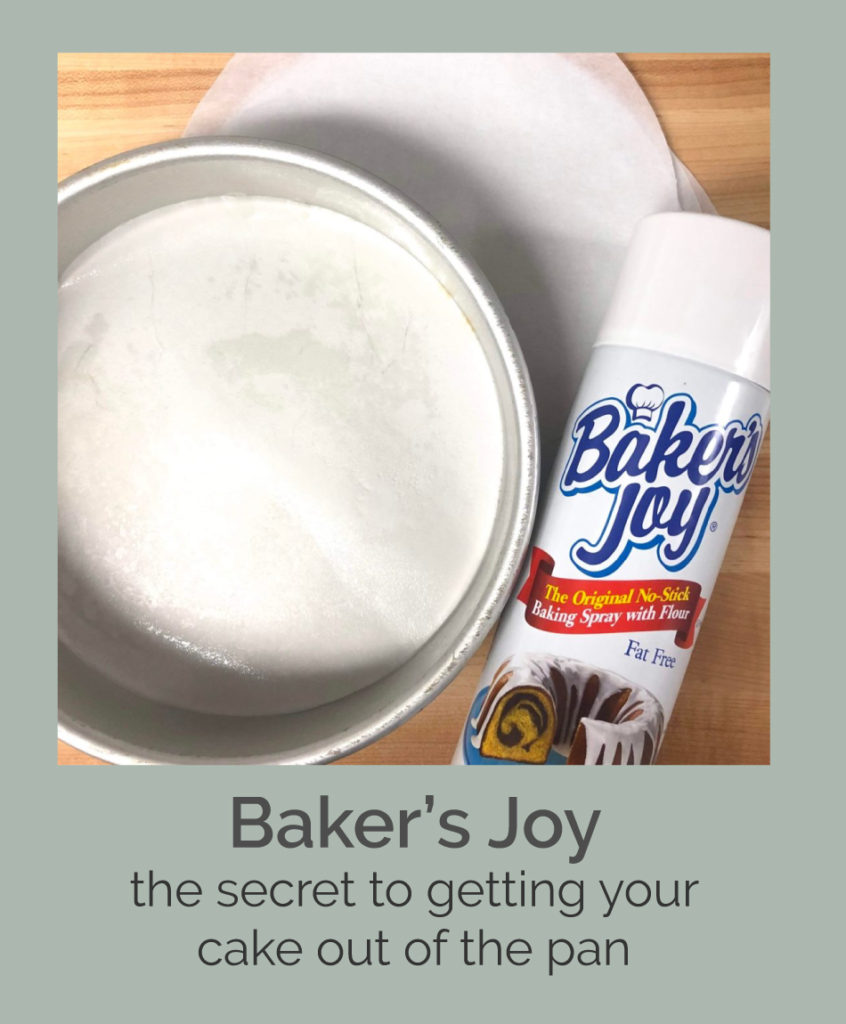
This pan was prepped with Baker’s Joy spray, which is a cooking spray with flour added. This cavity was prepared with an even coating of spray all over the cavity. The resulting cake was easily removed from the pan, with just a few bubbles.
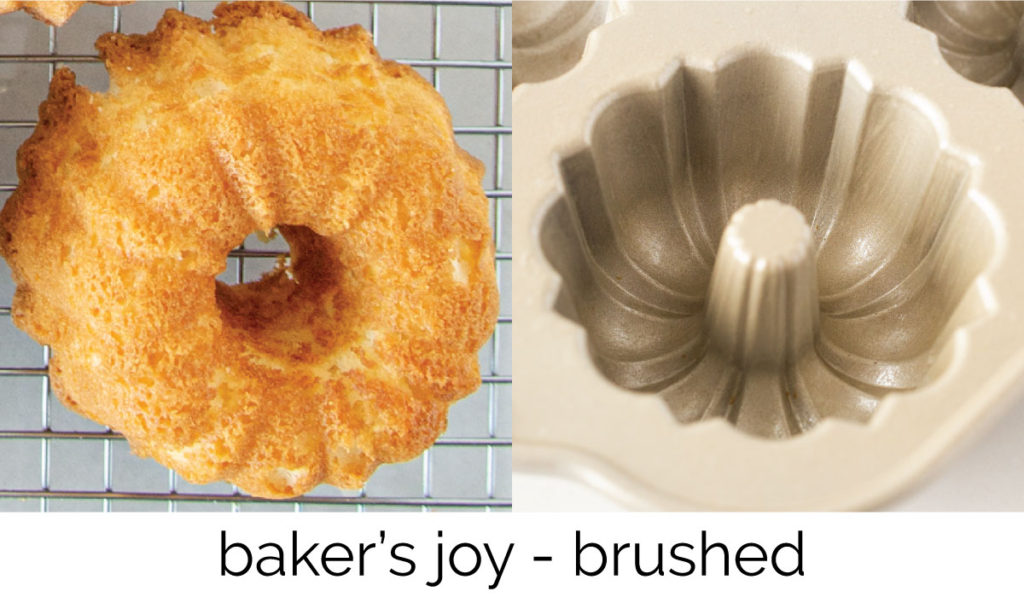
This cake was prepared with Baker’s Joy spray then brushed with the pastry brush for a smooth coating. It had fewer bubbles than the pan that was not brushed.
We preferred this cake to the cooking spray cake. The surface was smooth and evenly browned. It was a lovely cake and is probably our go-to method when preparing a bundt pan.
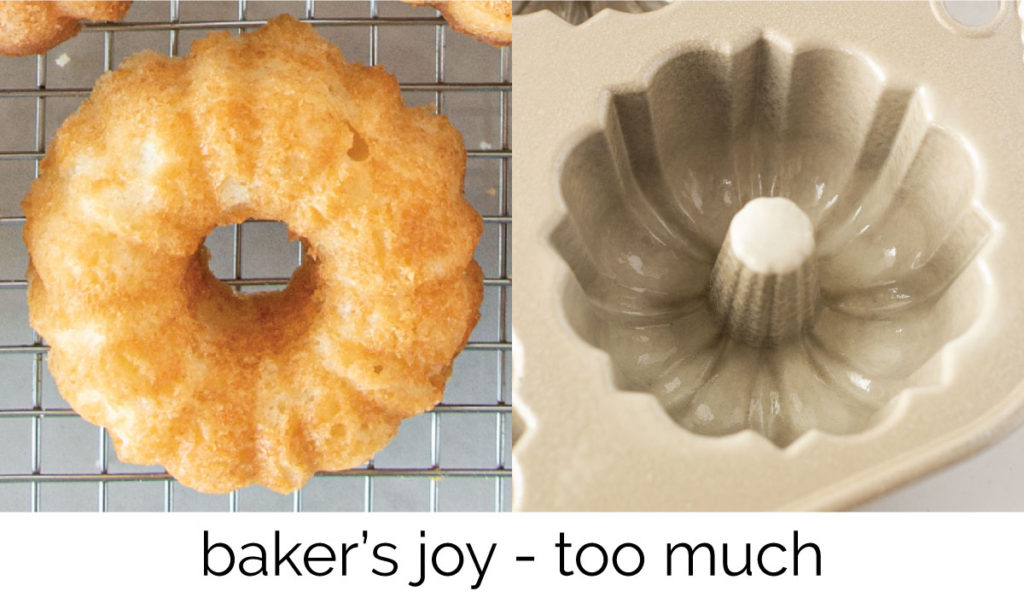
This pan was prepared with an excessive amount of Baker’s Joy, which pooled at the bottom of each cavity. The resulting cake had many pockets on the surface.
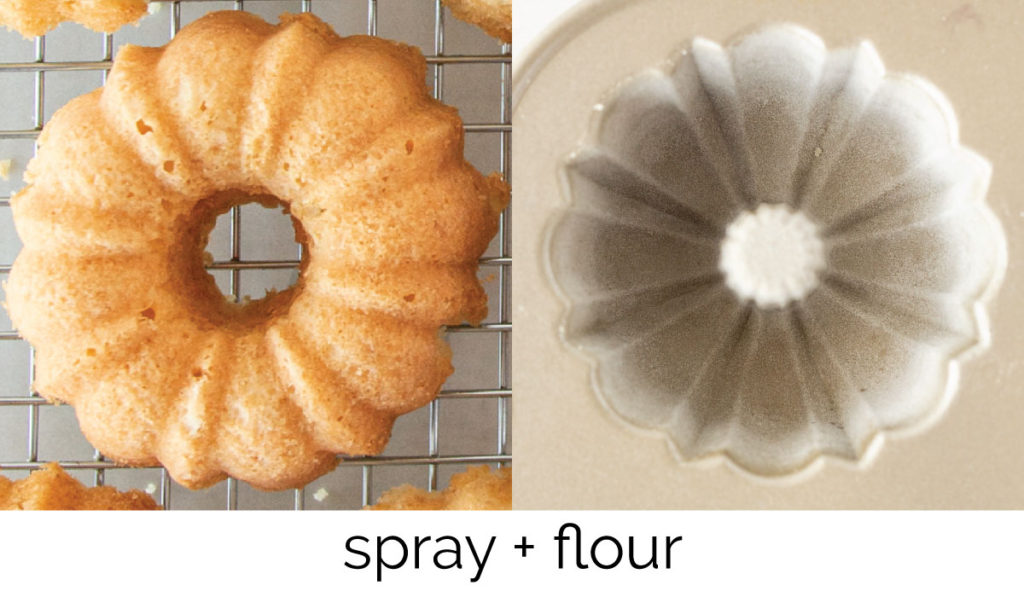
This pan was sprayed with Baker’s Joy, brushed on evenly, and then dusted with flour. The resulting cake was lovely. A smooth edge with very few bubbles on the surface.
As is the case with any floured cake pan, the surface shows signs of flour, leaving a matte finish.
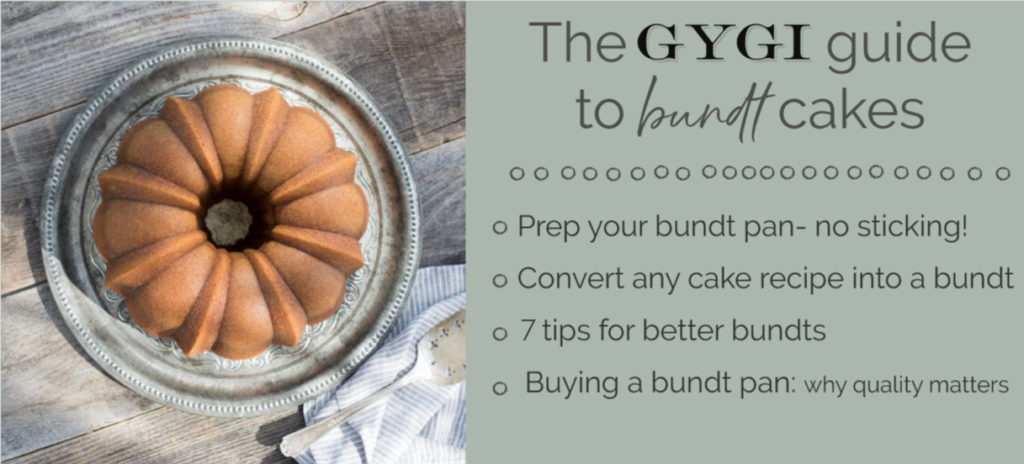
Conclusion
The secret to preparing a pretty bundt is in the pastry brush! Brushing the spray over the cavity will ensure a smooth even coating all over the pan. This will guarantee a beautifully released cake. Just decide if you want a crisp and shiny finish from cooking spray or a matte and floured surface.
If you’d like a clean surface with no signs of flour, use Baker’s Joy. Spray a light coating on the pan and brush it evenly all over the cavity. This is particularly important for pans with very intricate crevices and details. The resulting cake will release easily and the cake will be beautiful.
If you’re baking a cake recipe that tends to stick in the pan (fruit, chocolate chips, etc. added to the batter), a dusting of flour is a bit more insurance that the cake will come out easily. Spray the pan lightly, brush into an even layer, then shake in a few tablespoons of flour (or cocoa for a chocolate cake). Turn the pan around until the flour is covering every surface. Invert pan over a garbage can and tap a few times to remove any excess flour. The resulting cake will come out beautifully, regardless of how intricate the pan is or how sticky your cake batter may be.
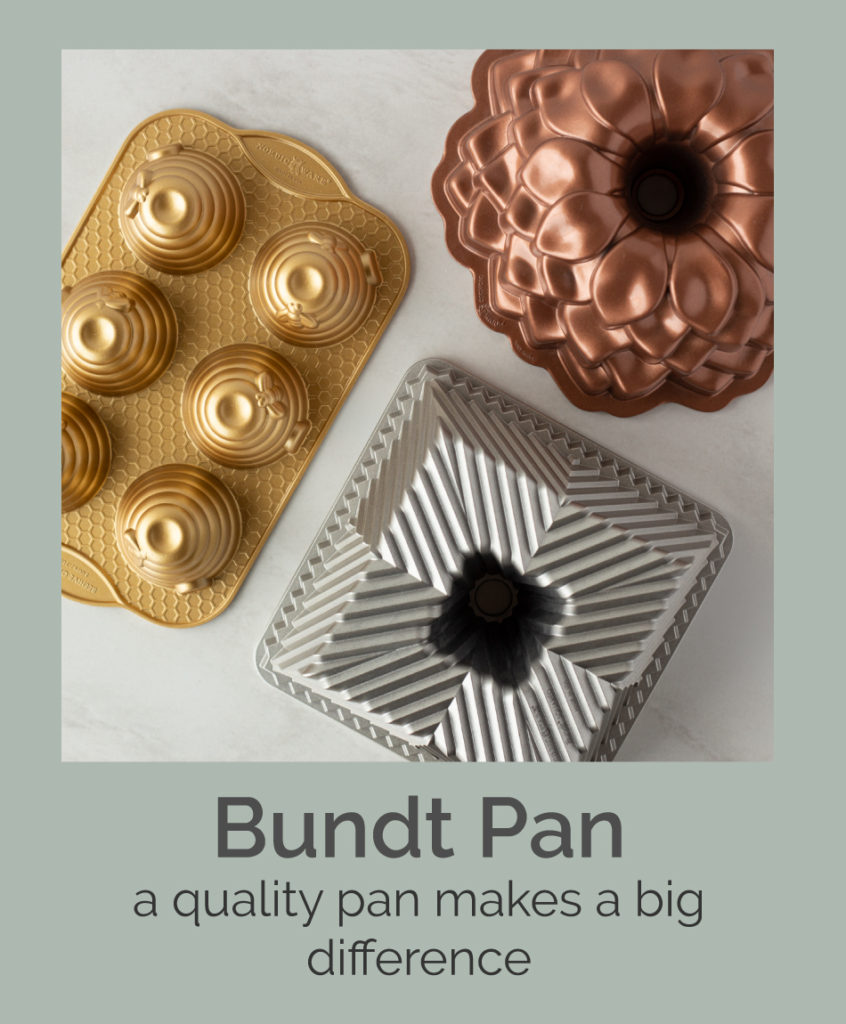
Shop Bundt Pan Essentials


No Comments