Very few things can calm the mind and fill the heart like a good baking session- but when that moment of release turns into stress, it can be easy…

Very few things can calm the mind and fill the heart like a good baking session- but when that moment of release turns into stress, it can be easy…
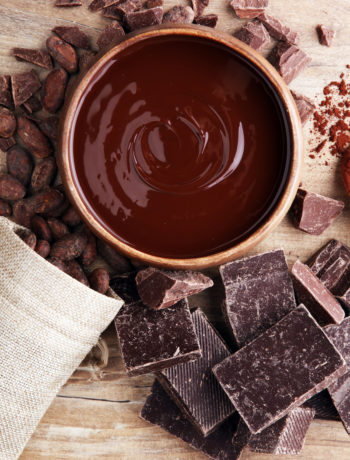
We’ve got so much information about chocolate, it can be hard to know where to begin. So we’re making that easier for you, and telling you to start right…
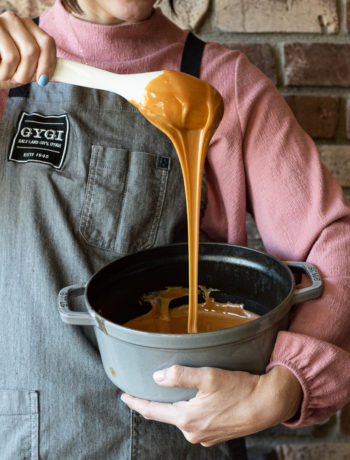
We’ve used Peter’s Caramel for years now. We’ve definitely learned a few things to make your caramel experience much more rewarding. Find our best tips and tricks all about…

Ready to turn up the heat and reignite your passion for pizza? Join us for an Arc Party on April 20, 2024, from 11 am-4 pm, we will be…

Are you a fan of timeless treats? Those recipes that take you right back to your childhood and grandma’s kitchen. The treats that never fail to satisfy. Then you…
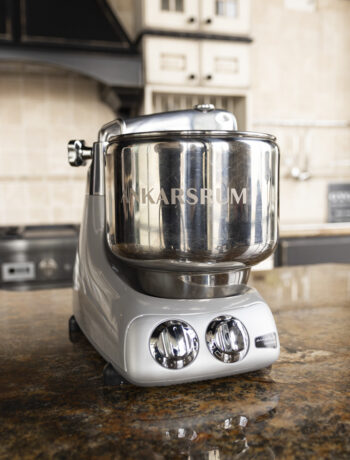
The Ankarsrum Original Assistent is a one-of-a-kind mixer and you’re sure to love it. If you haven’t purchased one yet because you just aren’t sure—that’s ok too. This is…
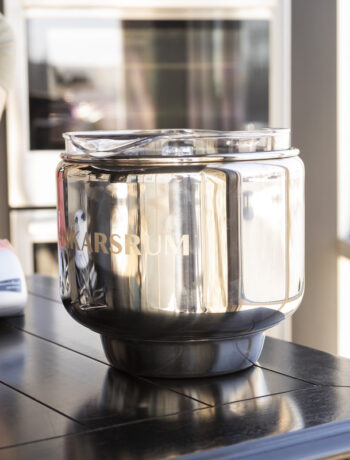
Do you have an Ankarsrum Original Assistent? Yay! Congrats! Have you taken it out of the box yet? If not, that’s ok! You might be worried it is a…

Hear us out–do you have any leftover popcorn supplies from the Holidays? Then you must try the sweet delight of homemade chocolate-covered popcorn this Valentine’s Day. You can elevate…

Colored compound chocolate is a delightfully creative way to elevate your festive treats and table spreads. Whether you’re a seasoned chocolatier, or a novice in the world of chocolate…

Valentine’s Day is just around the corner, and what better way to express your love than with a sweet treat? Chocolate-dipped strawberries are a classic and delightful choice for…